

Suppress and unsuppress contacts
Keep individual contacts out of your outreach without deleting them, and put them back when you want to.
- Applies to
- All plans
- Before you start
- Contacts already in your hubsell account.
Suppression is how you take individual contacts out of your outreach without deleting them. A suppressed contact stays in your account and keeps its data, but flows skip it when they send.
This is different from the suppression list, which blocks email addresses and whole domains before they ever reach your contacts. Use that for competitors, and this for individual people already in your lists.
Find the contacts you want
-
Click the Contacts icon in the left sidebar.
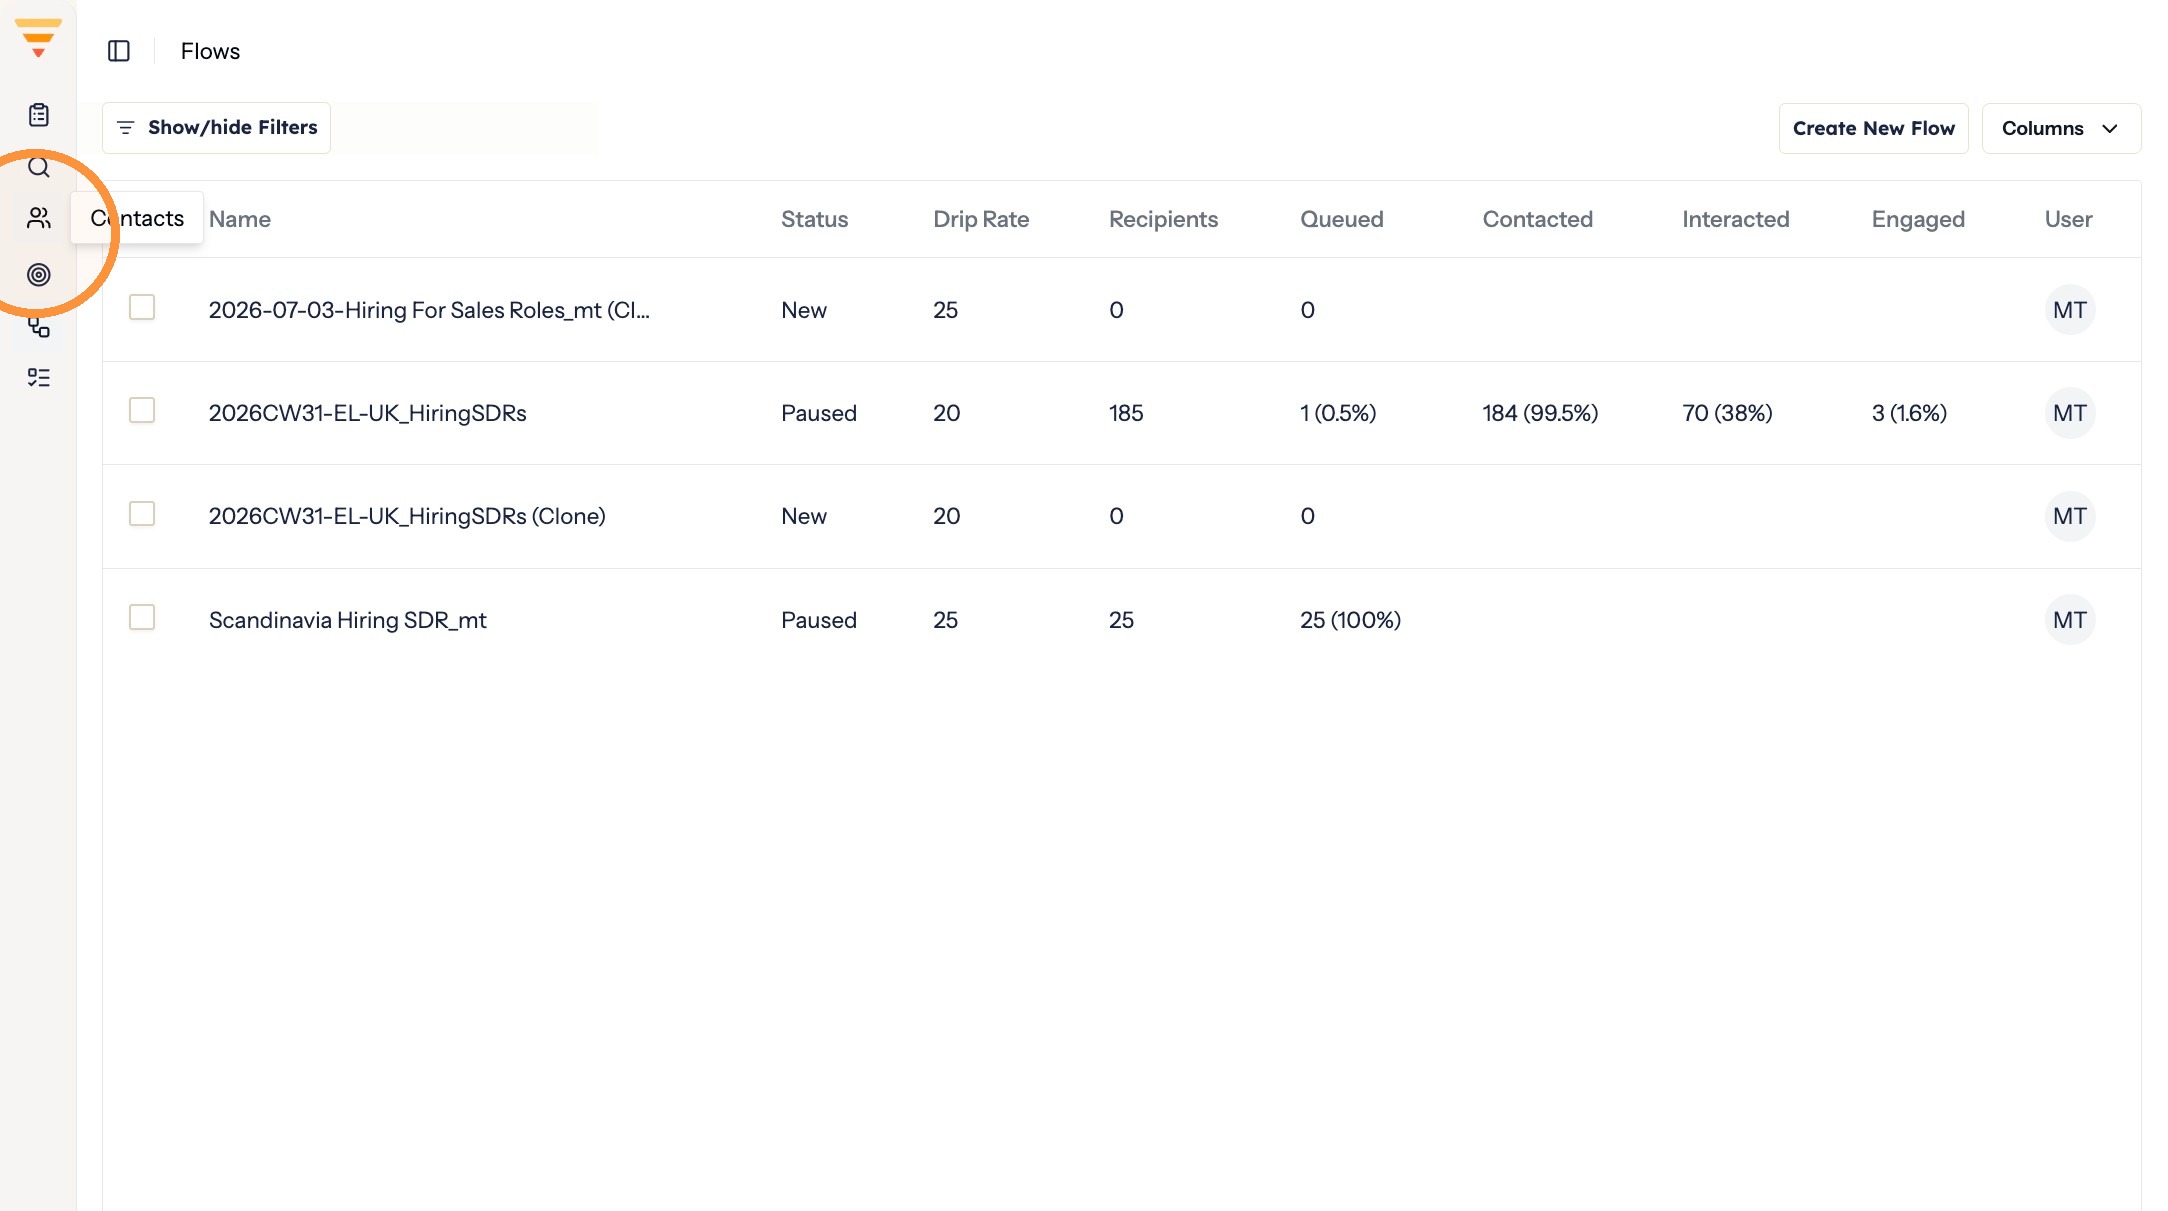
Opening Contacts -
Click Suppression in the filter panel.
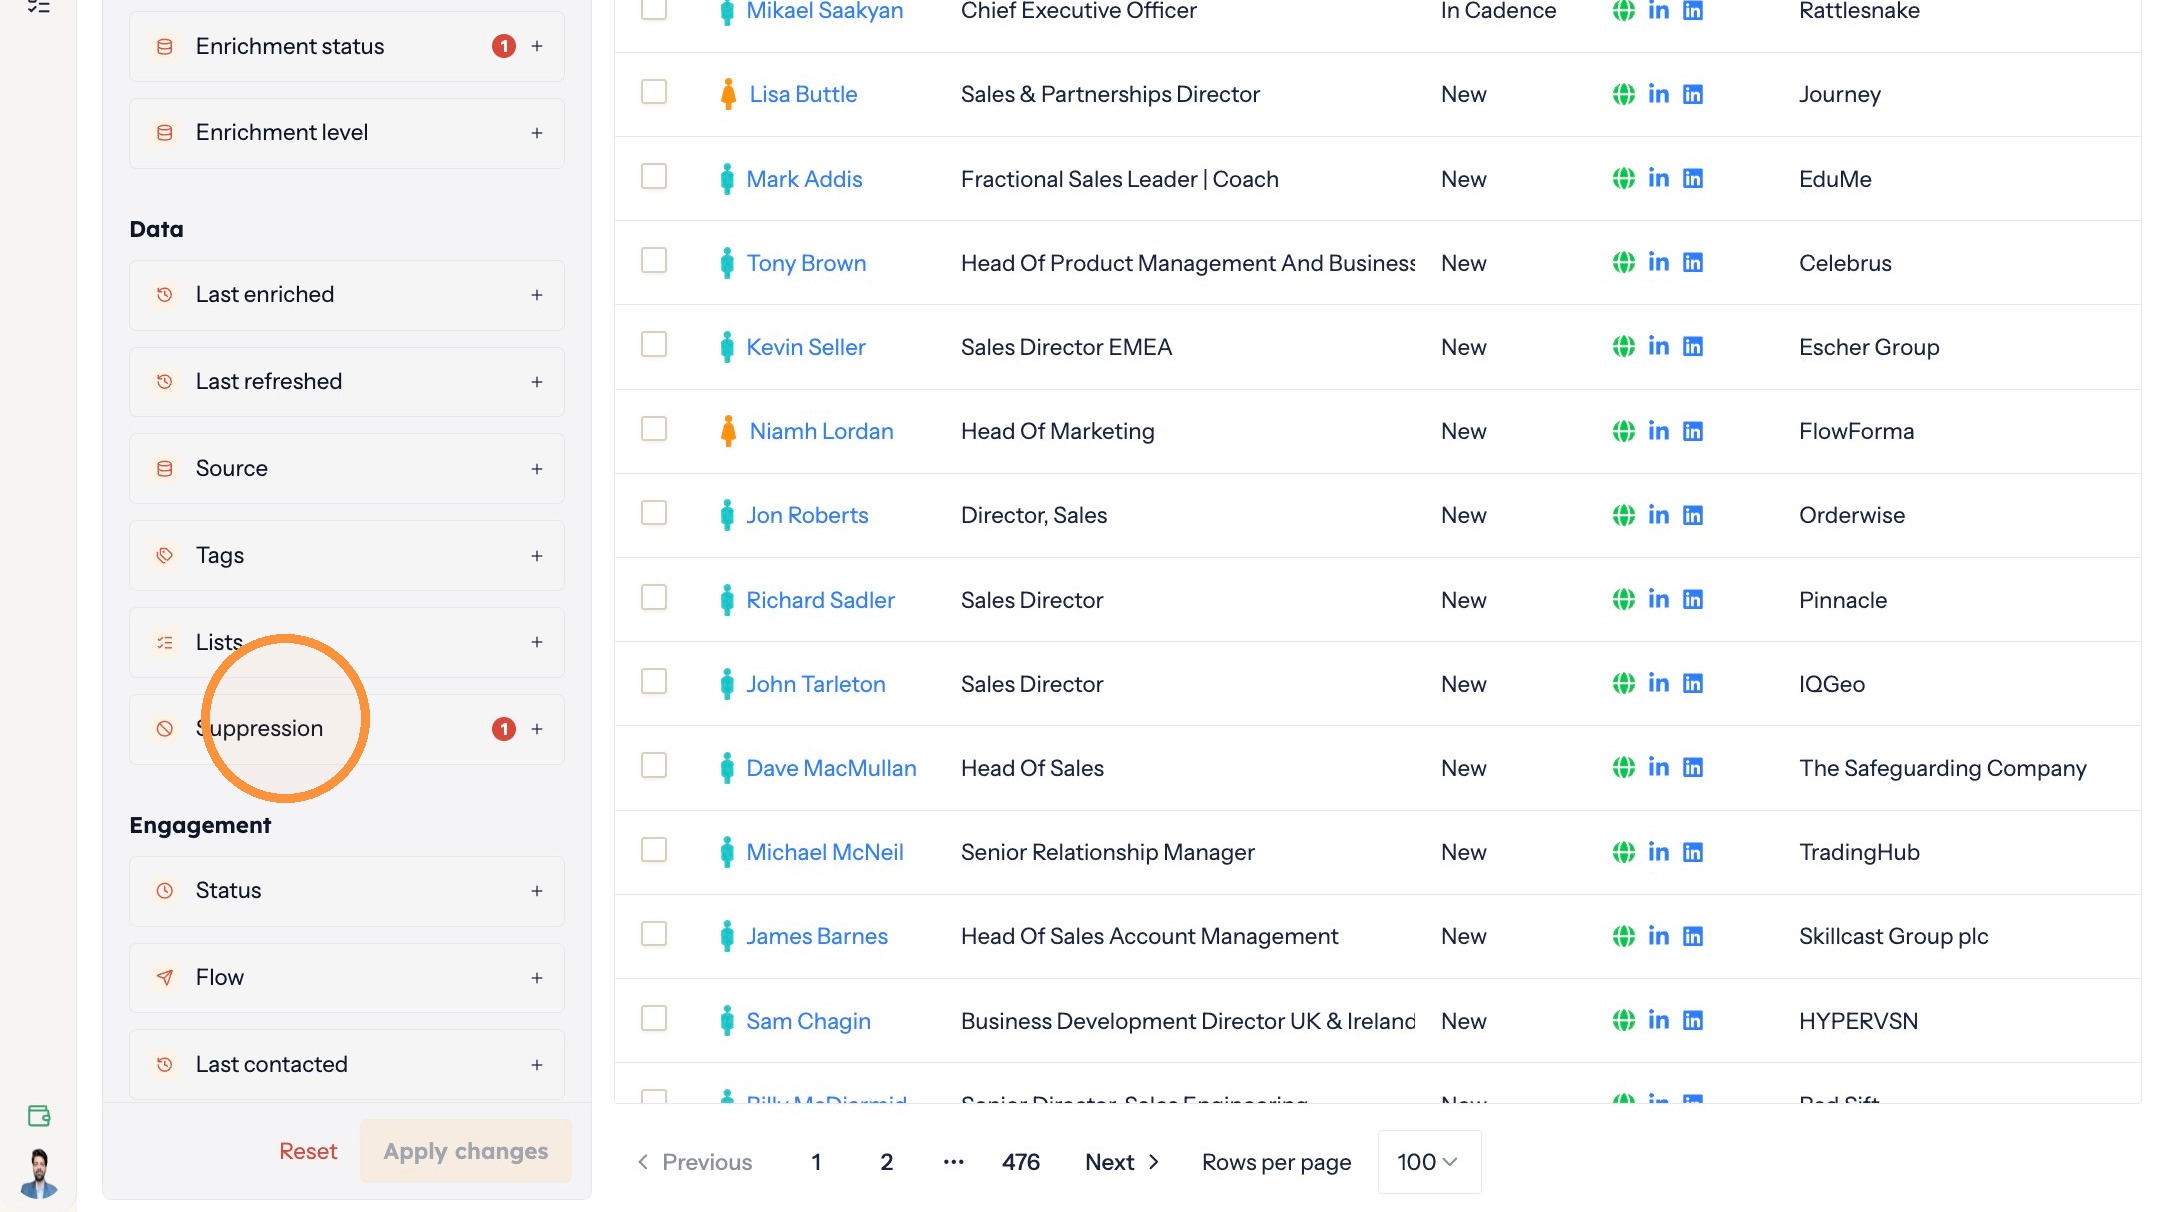
Opening the suppression filter -
Select No to show contacts that are not suppressed yet.
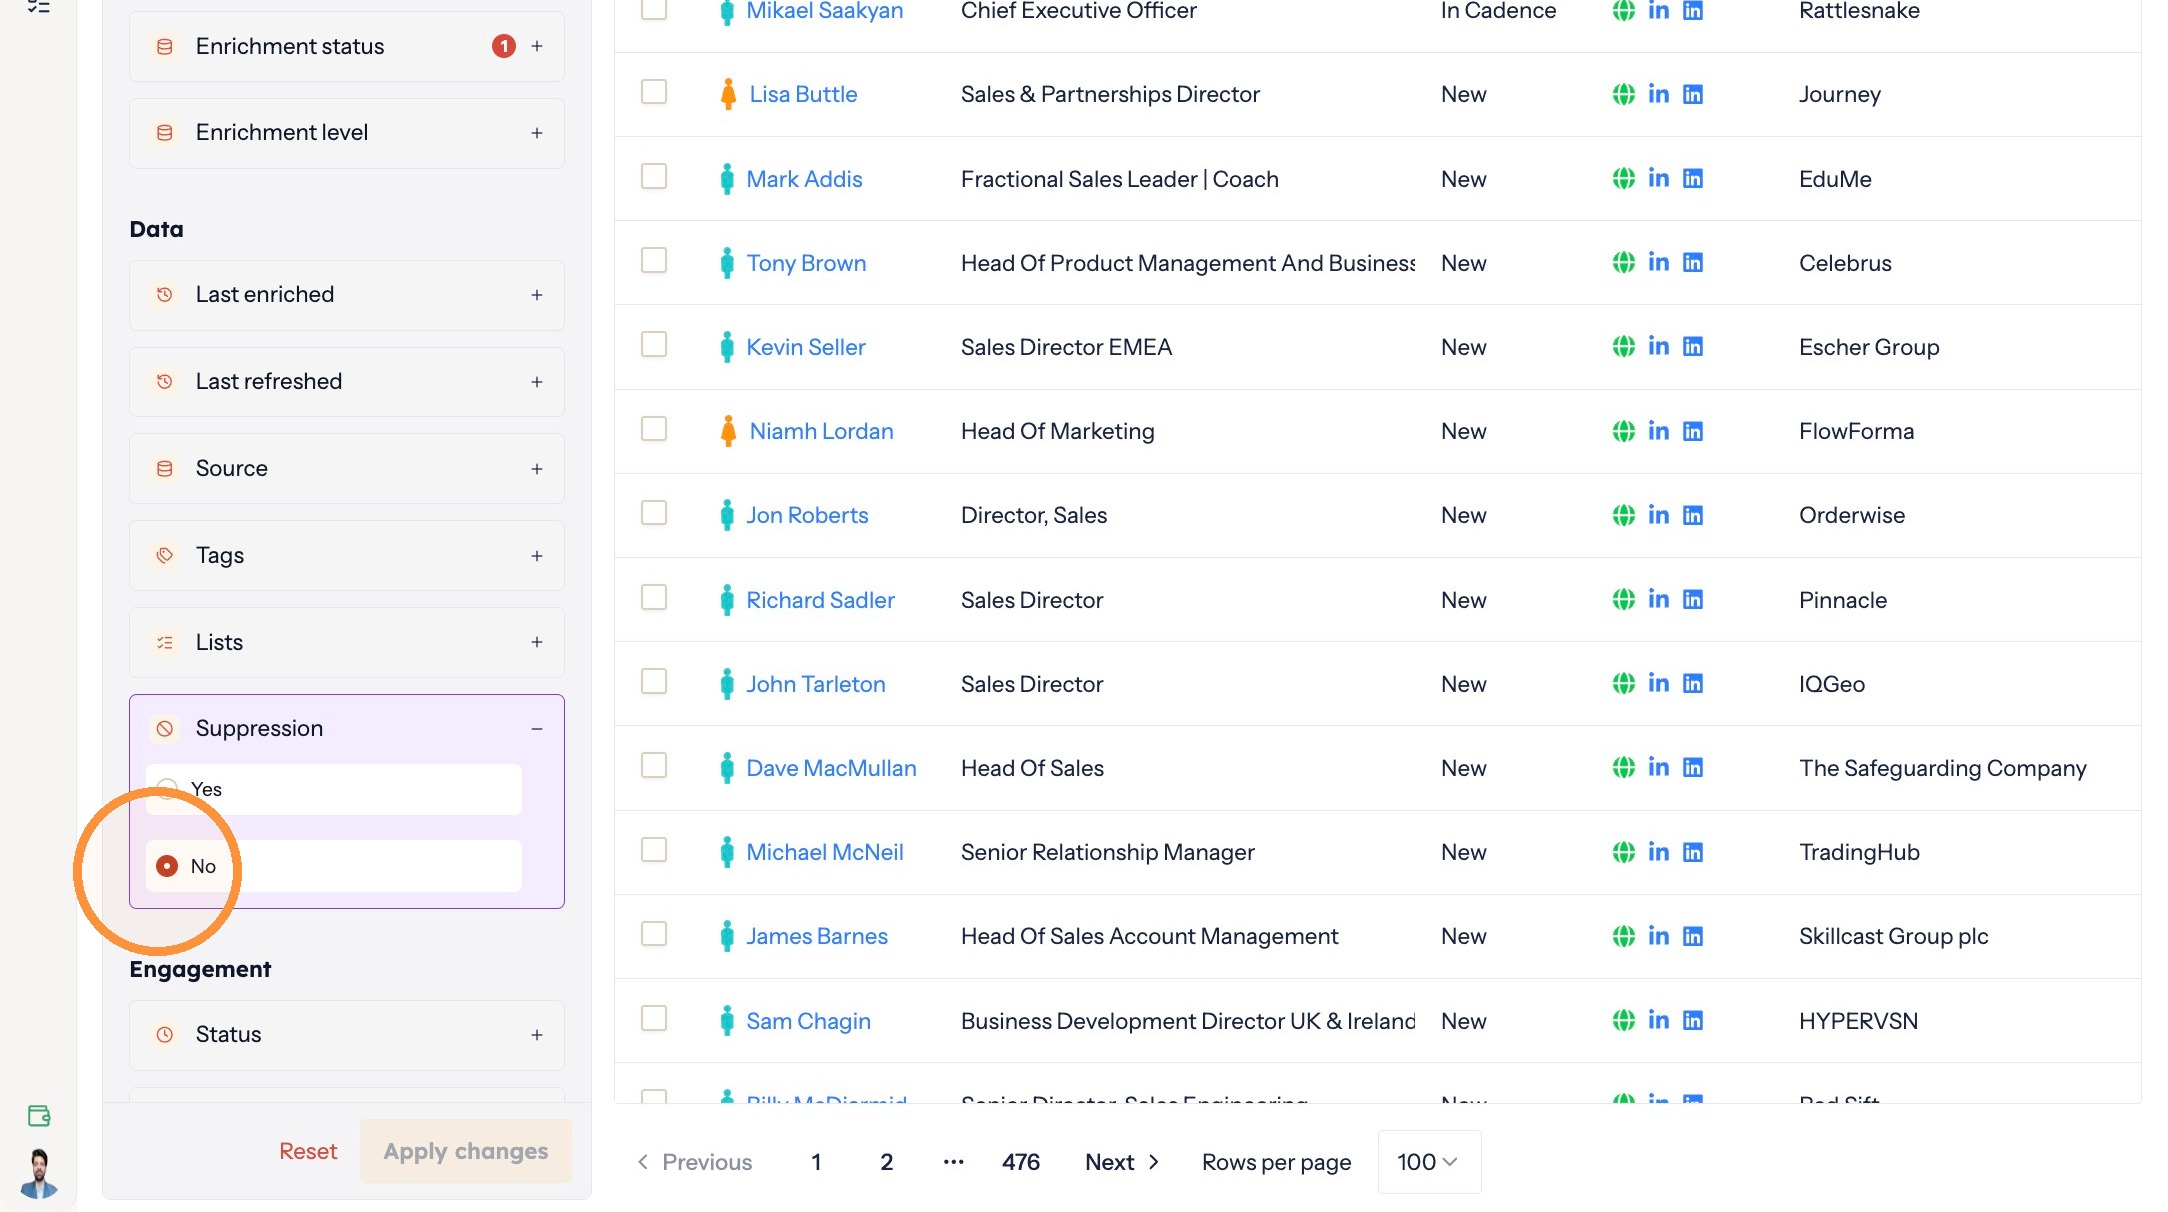
Showing unsuppressed contacts -
Go to Lists and choose a list to narrow things down.
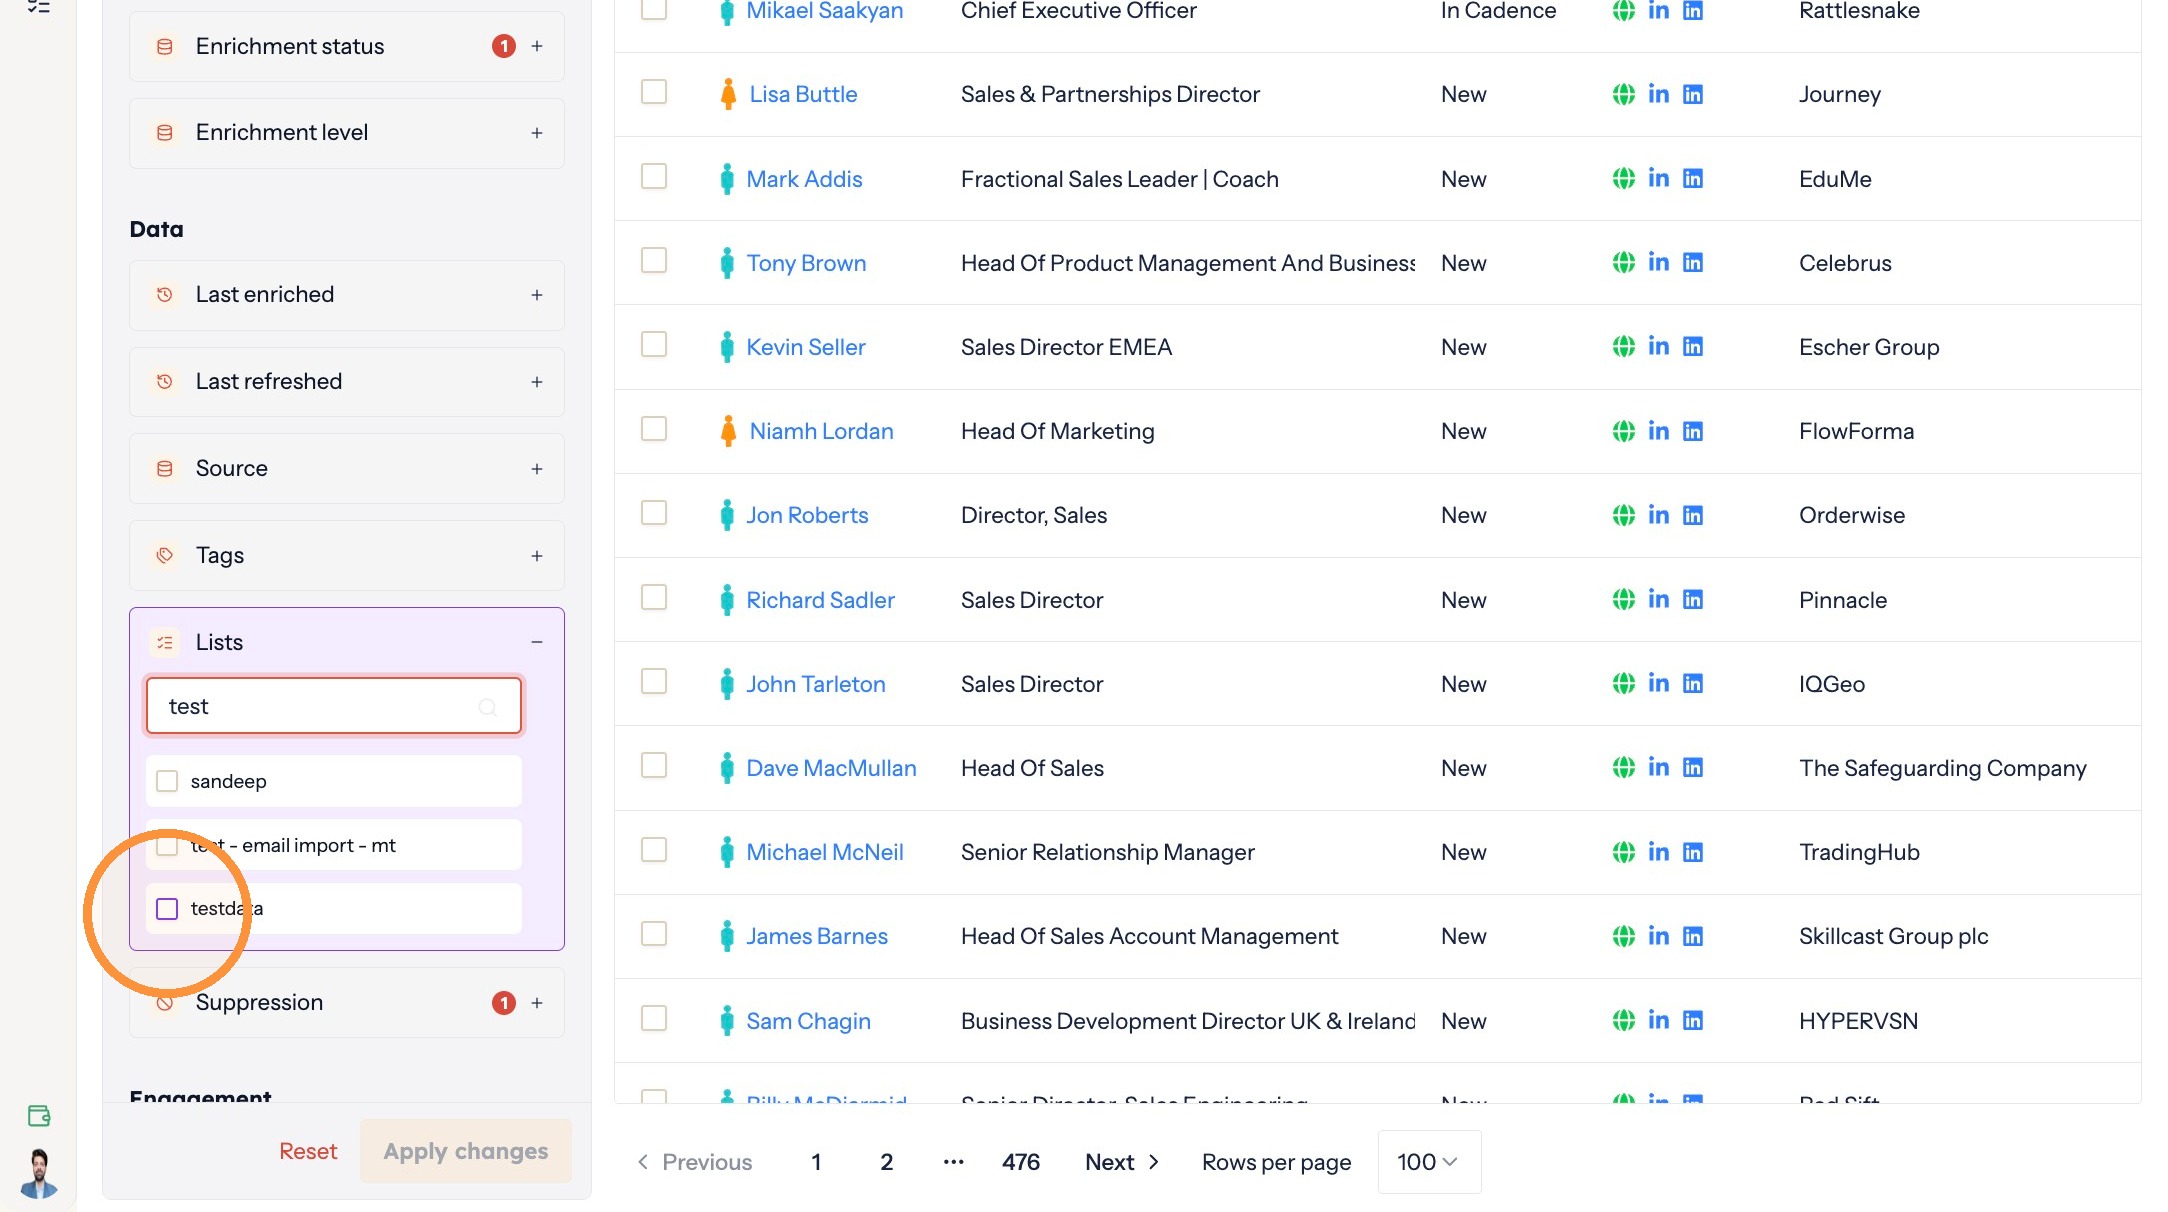
Filtering by list -
Click Tags if you want to narrow down further by tag.
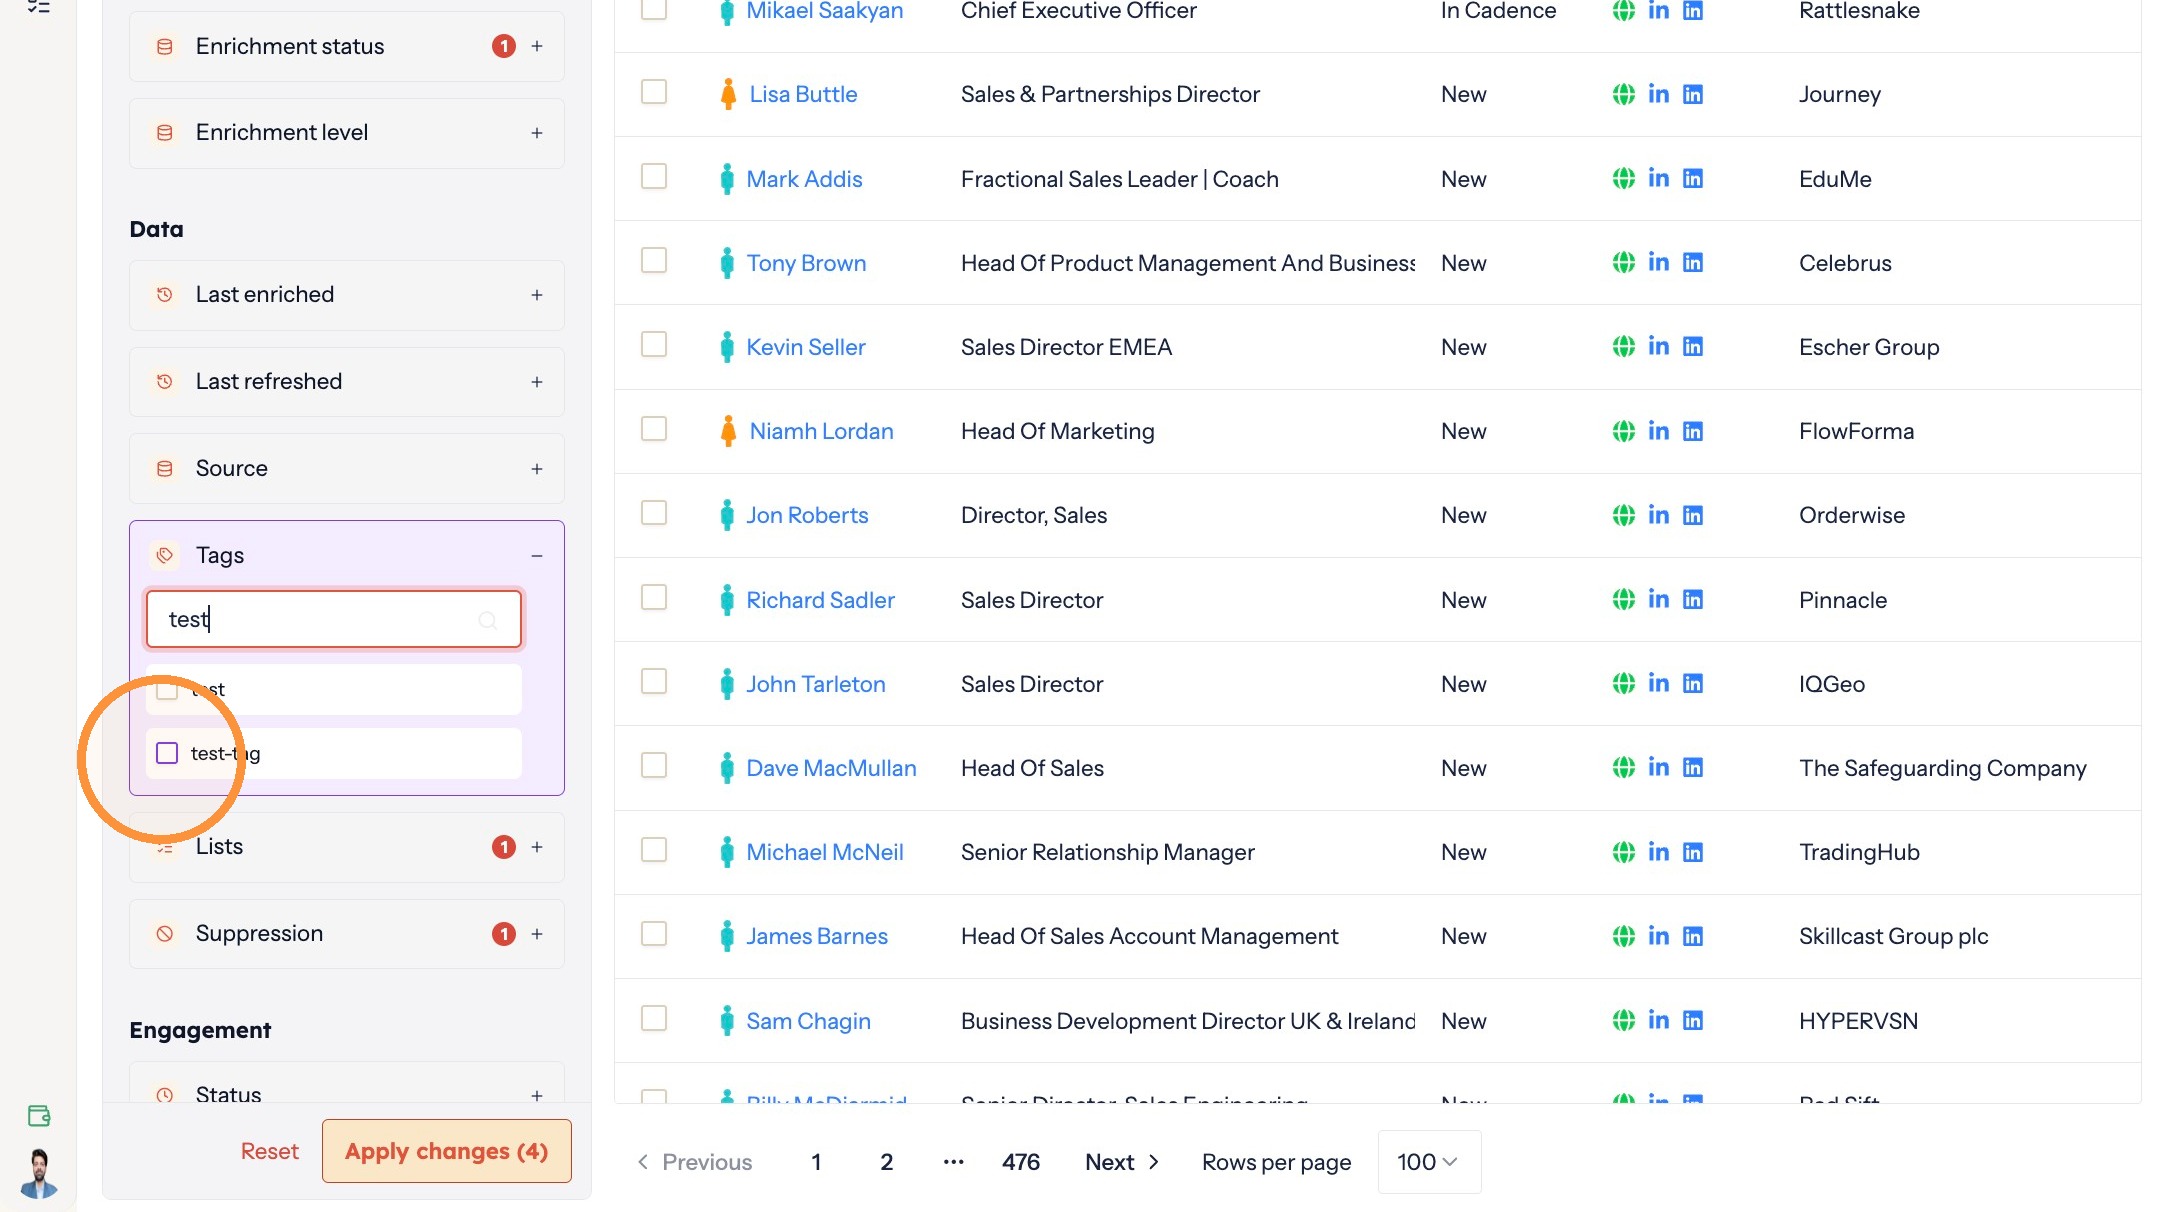
Filtering by tag -
Click Apply changes.
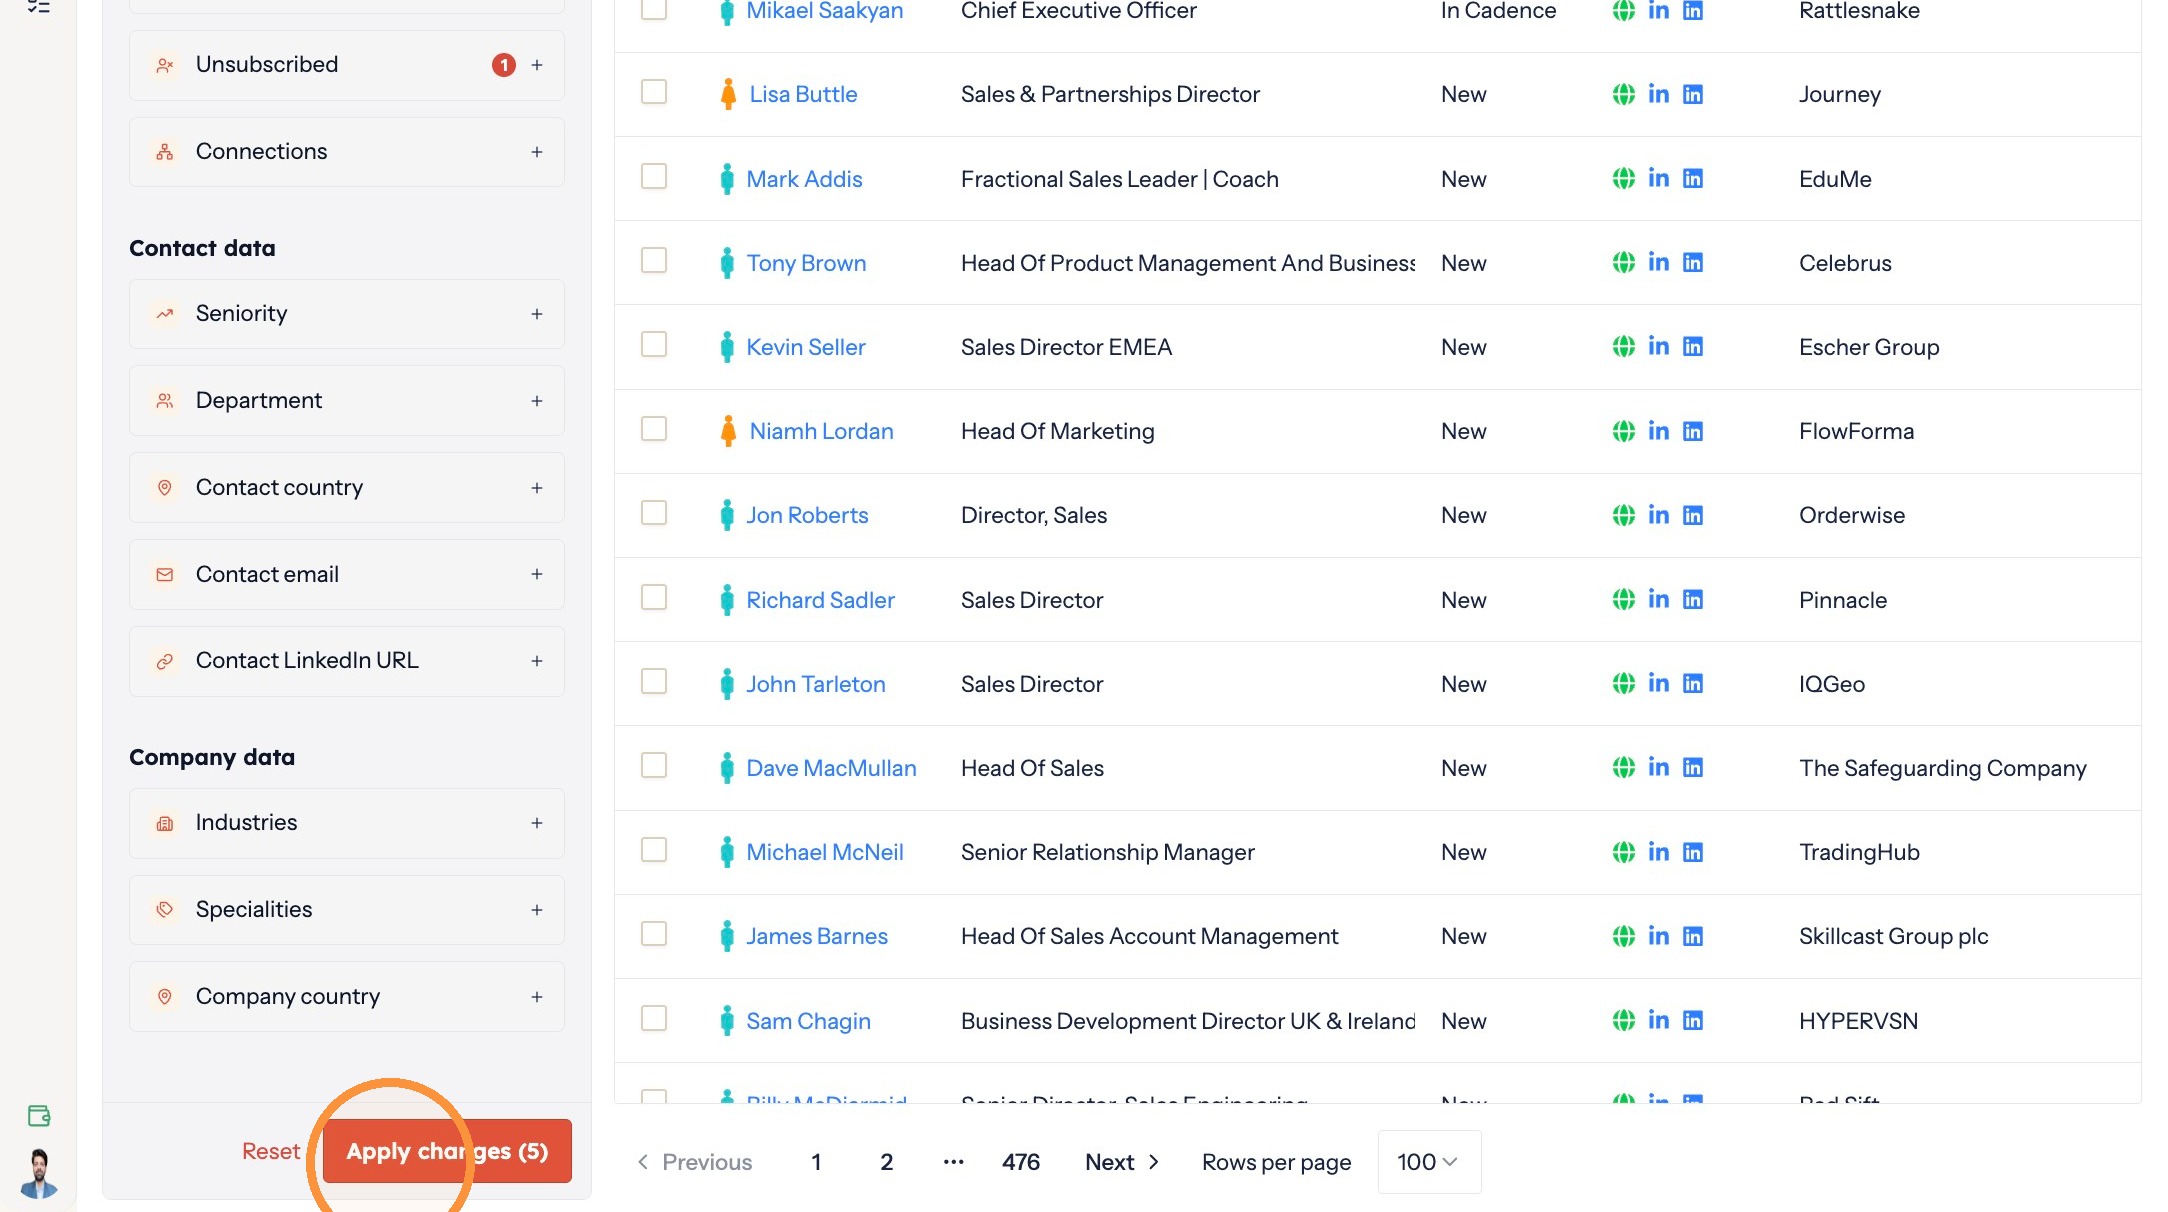
Applying the filters
Suppress them
-
Select the contacts you want to suppress.
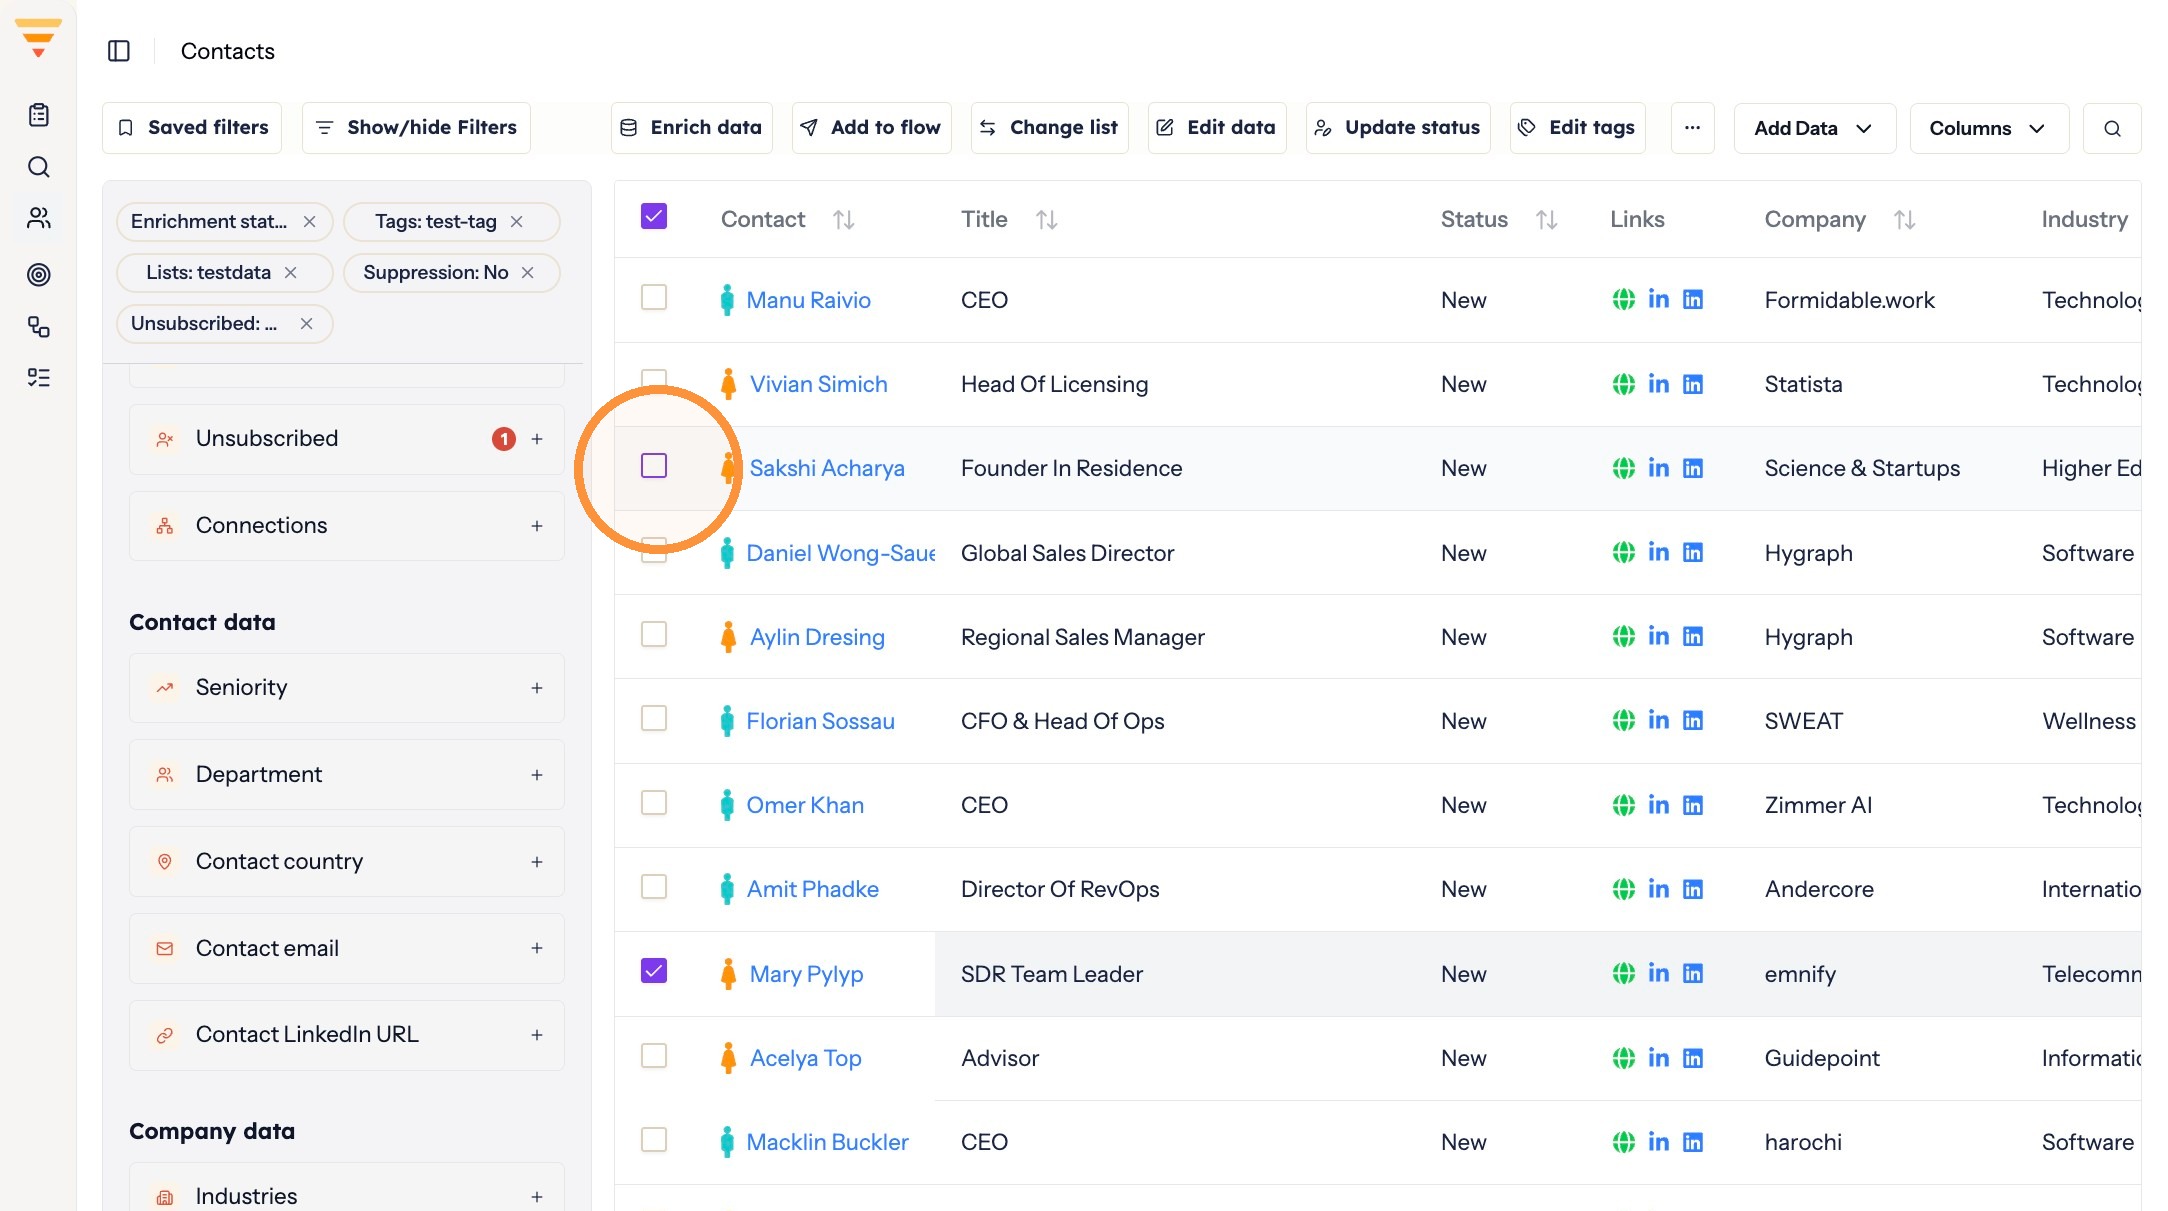
Selecting contacts -
Click the three dots menu above the contact table.
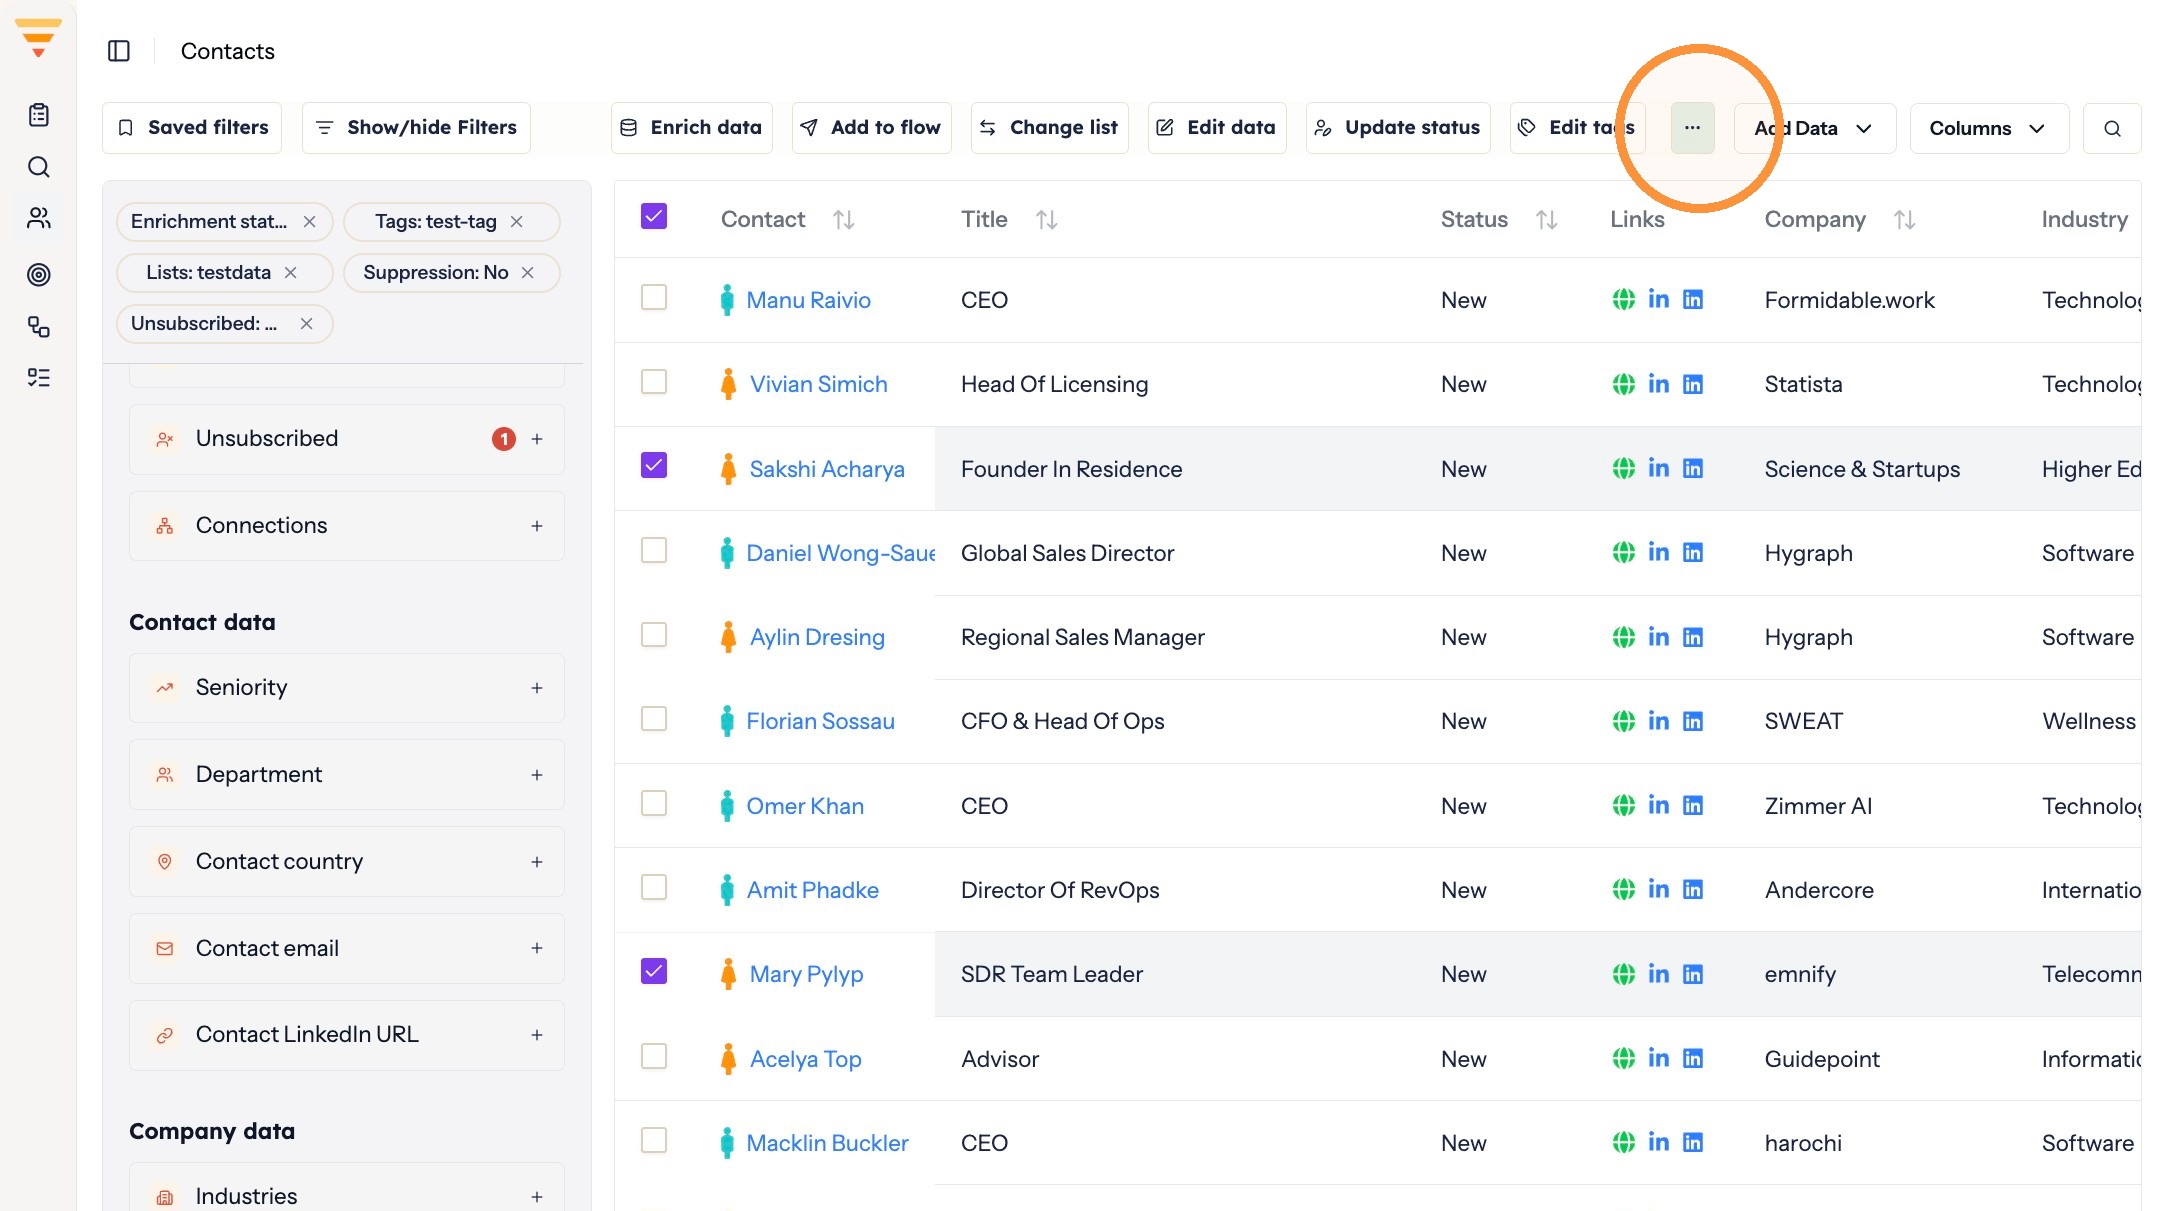
Opening the actions menu -
Select Suppress contacts.
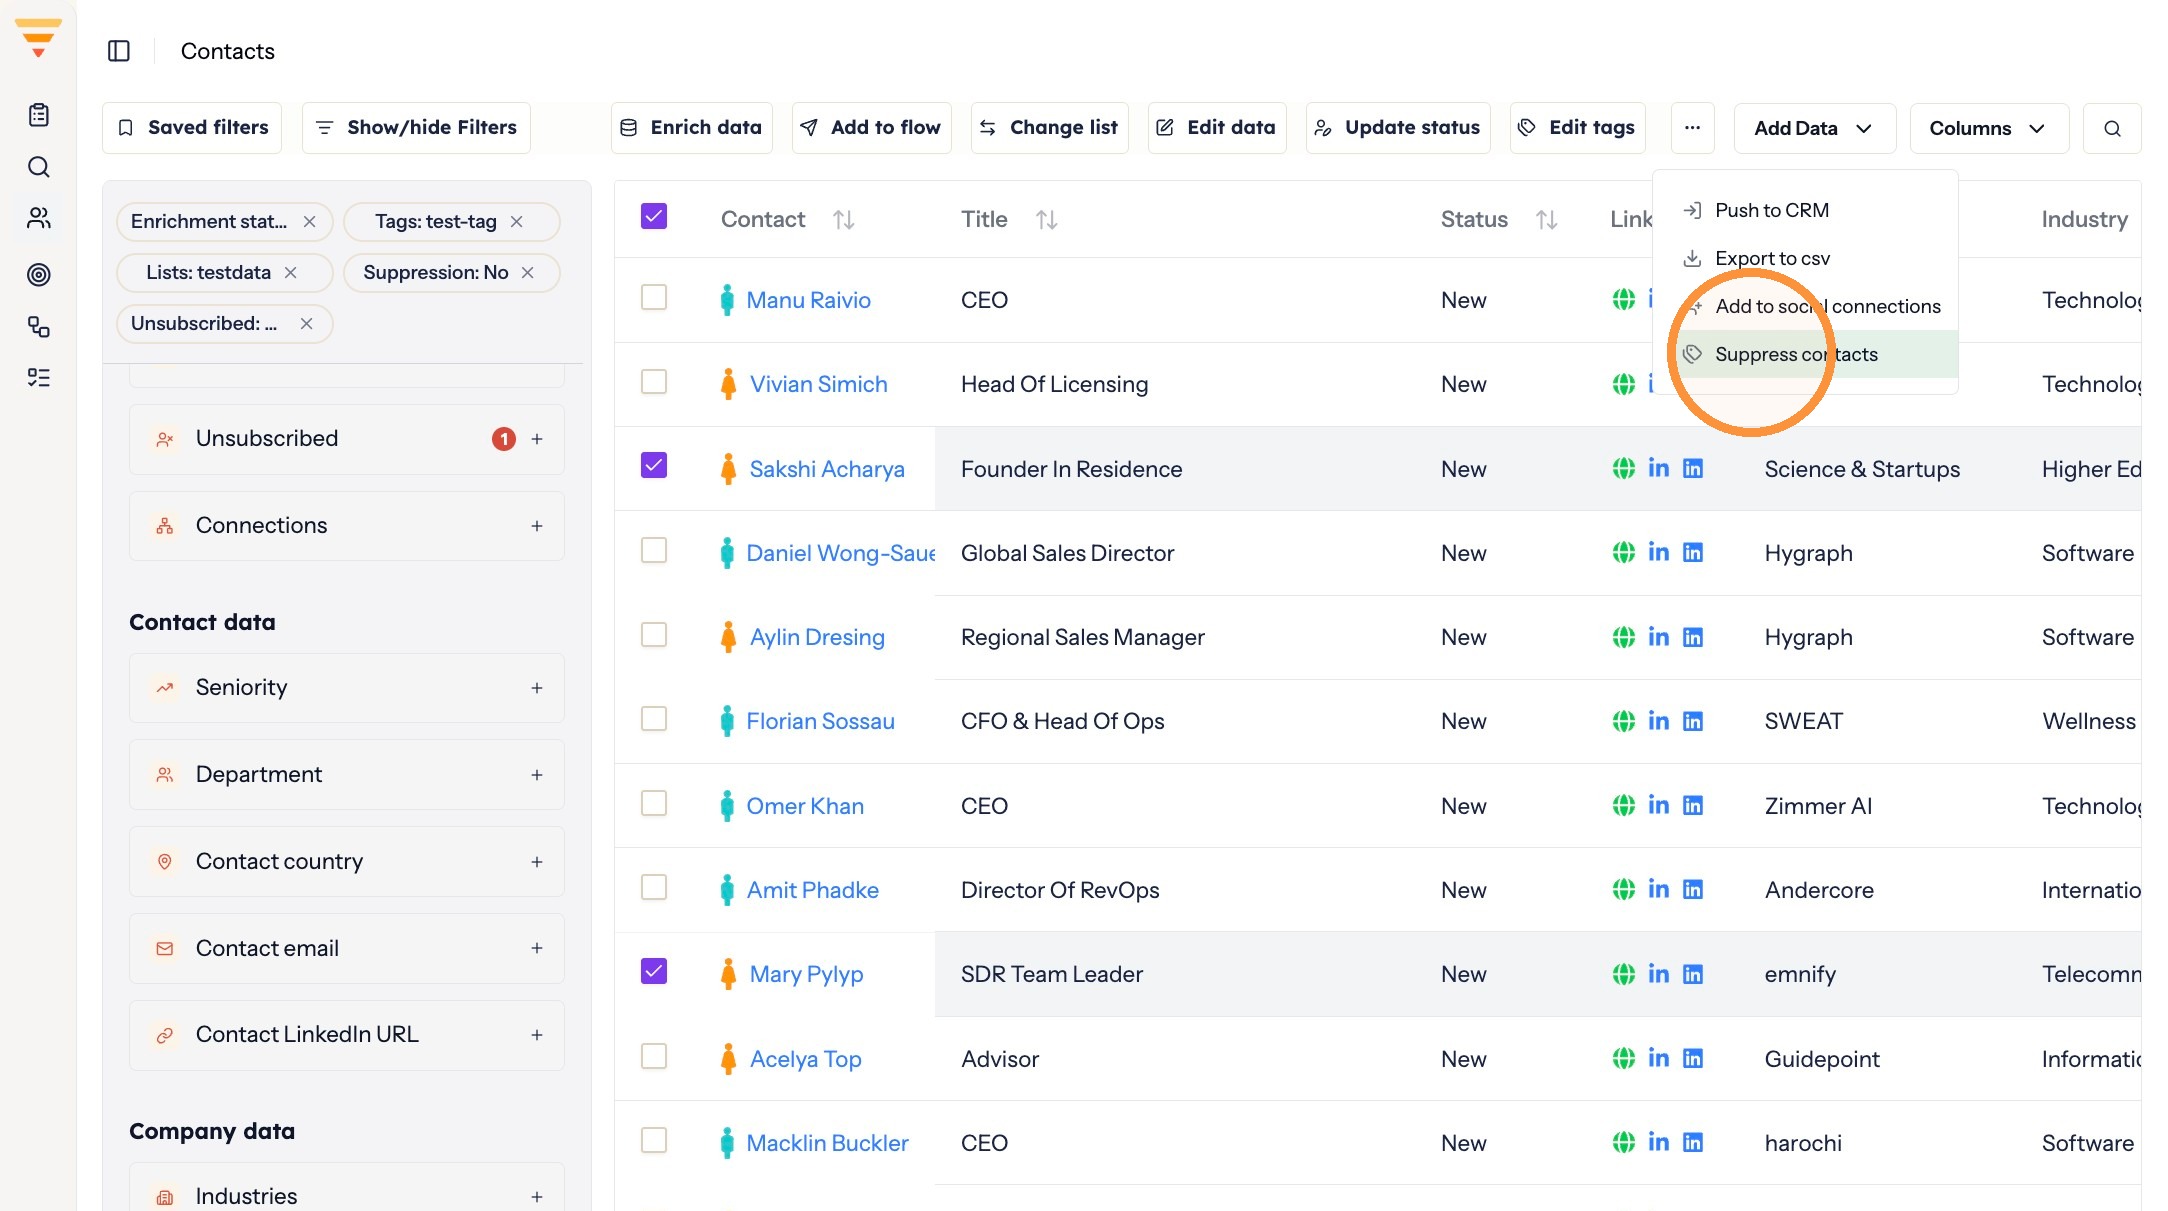
Suppressing the selection
Remove suppression
-
Click Suppression in the filter panel.
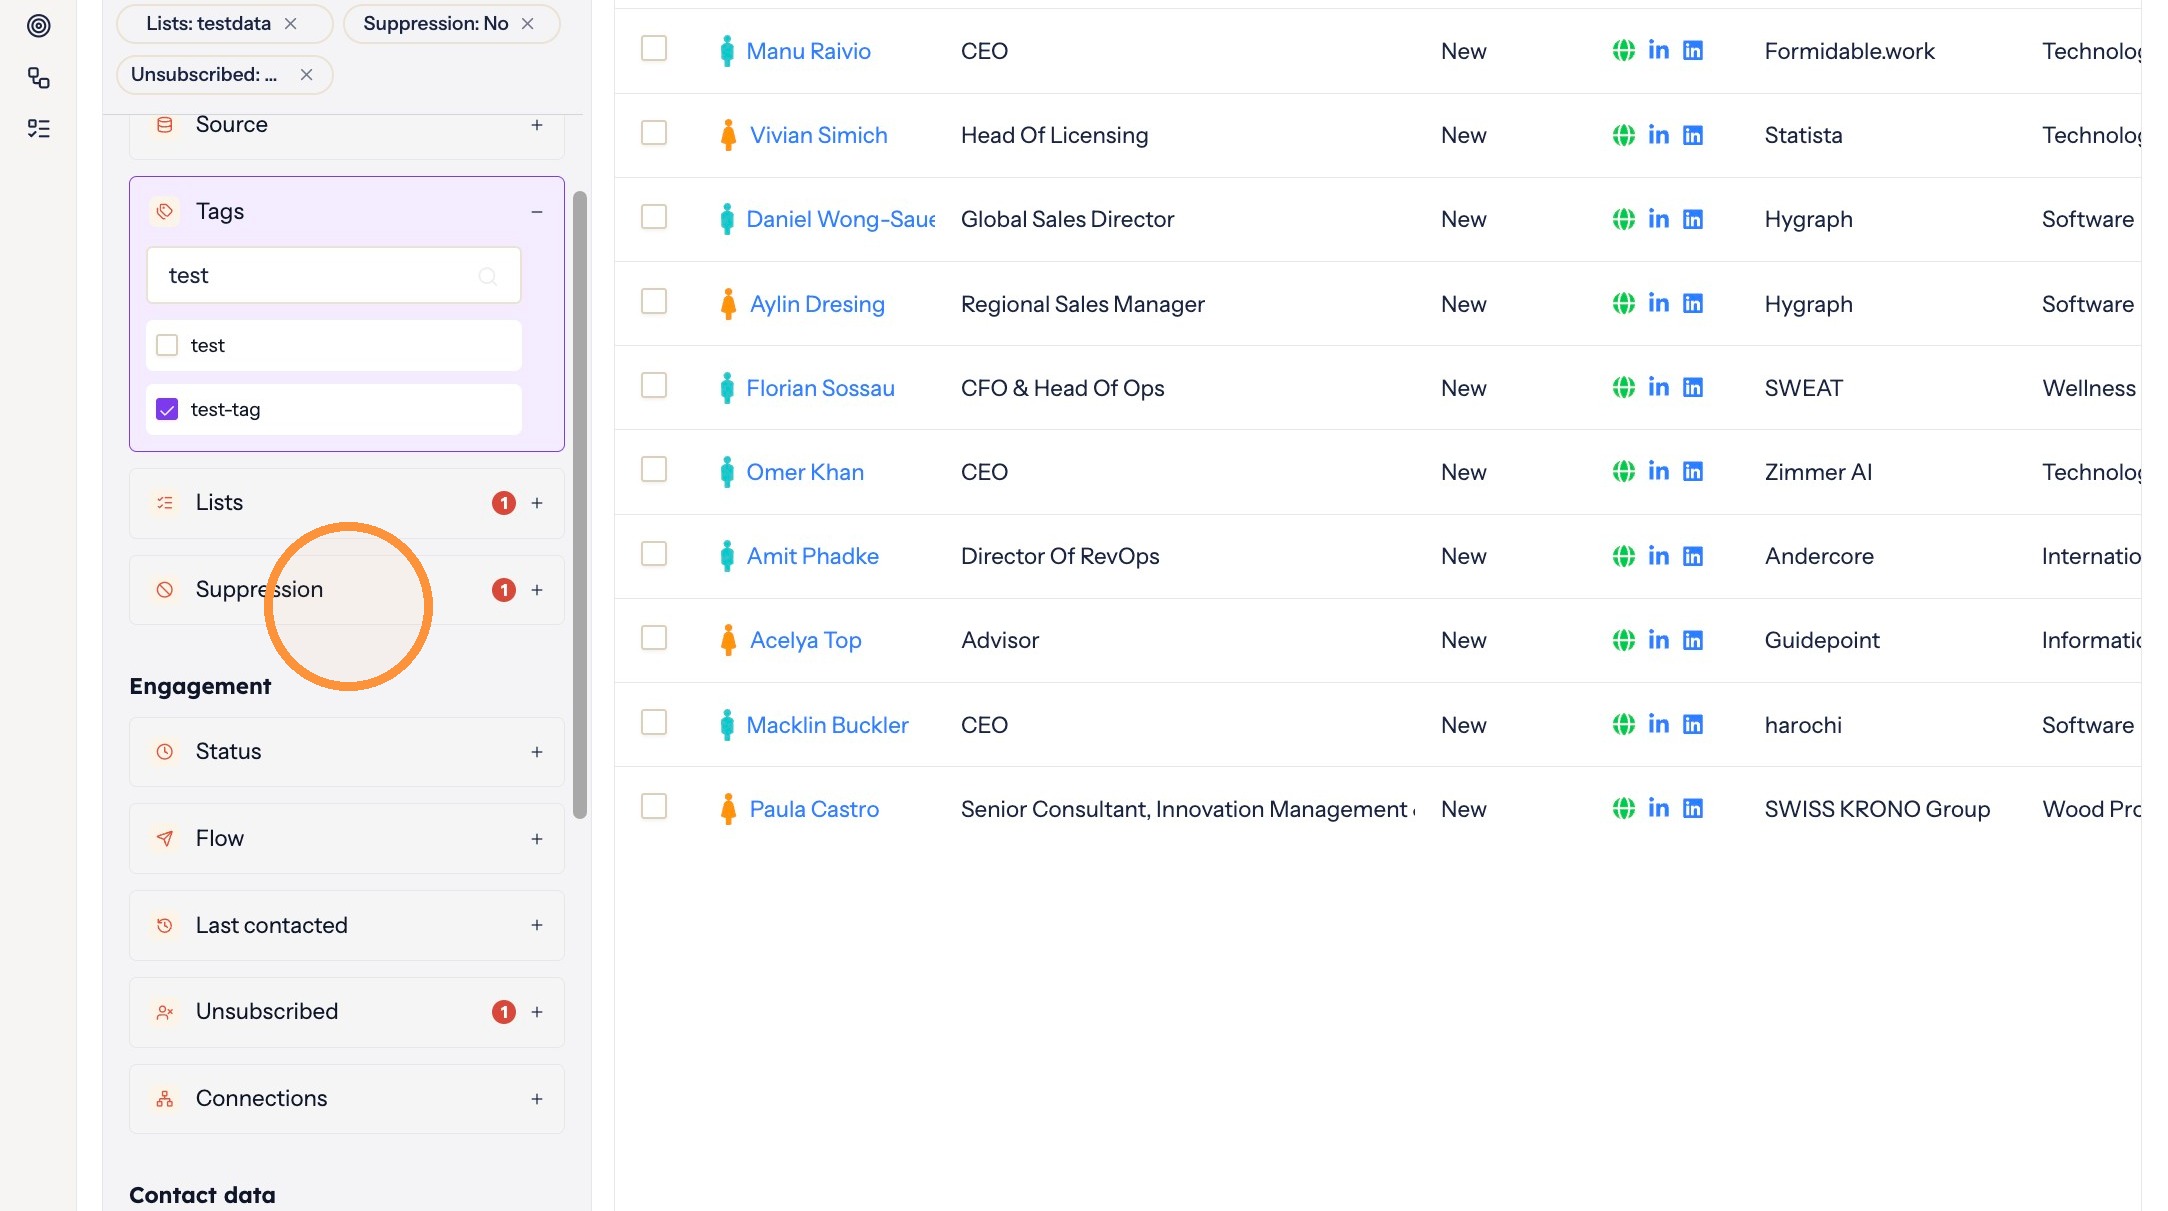
Back to the suppression filter -
Select Yes to show contacts that are currently suppressed.
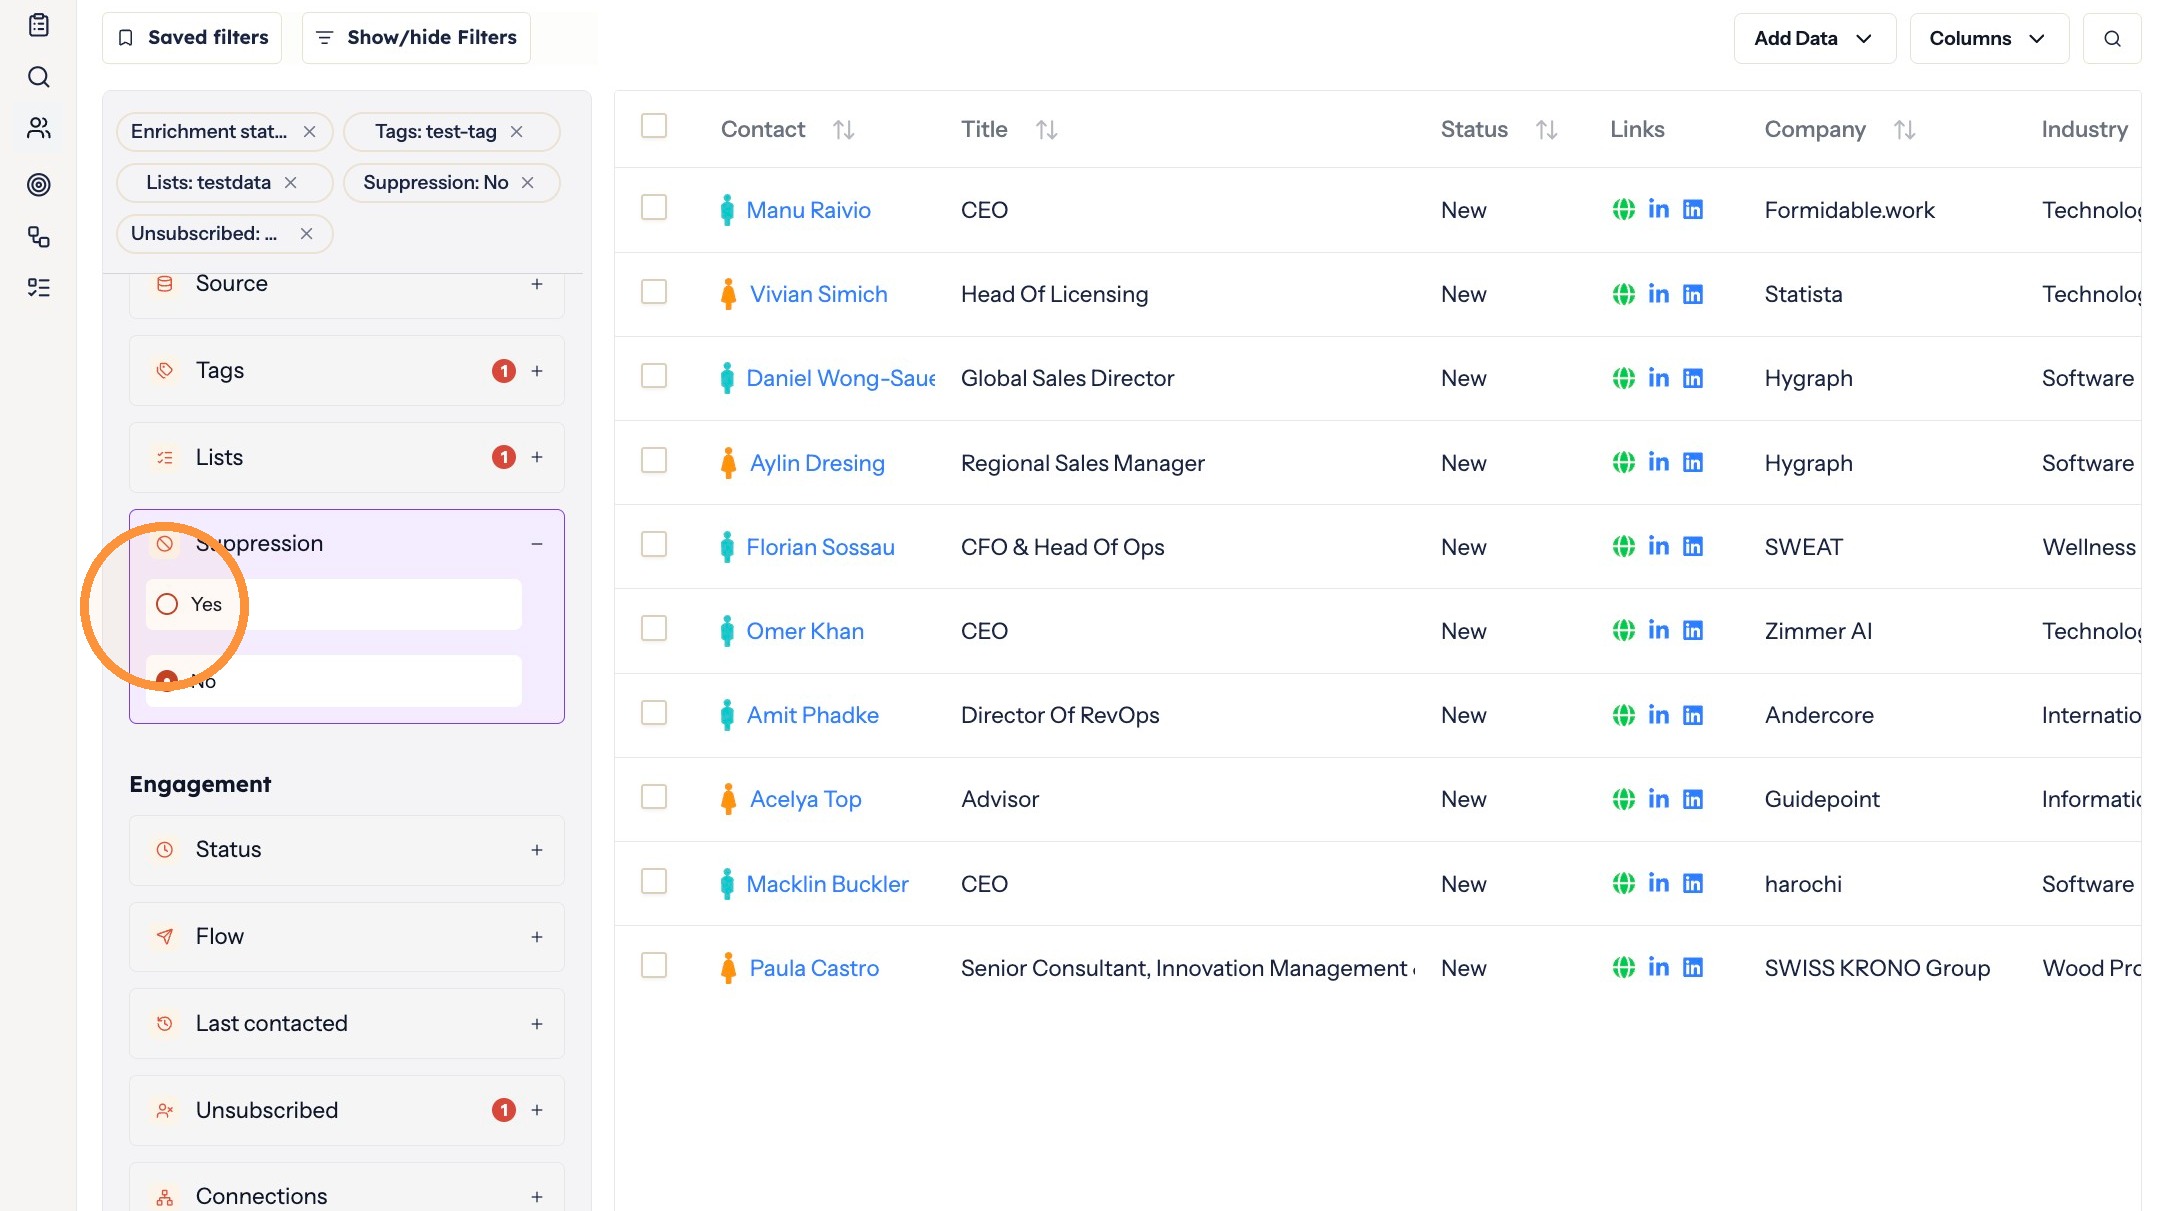
Showing suppressed contacts -
Click Apply changes.
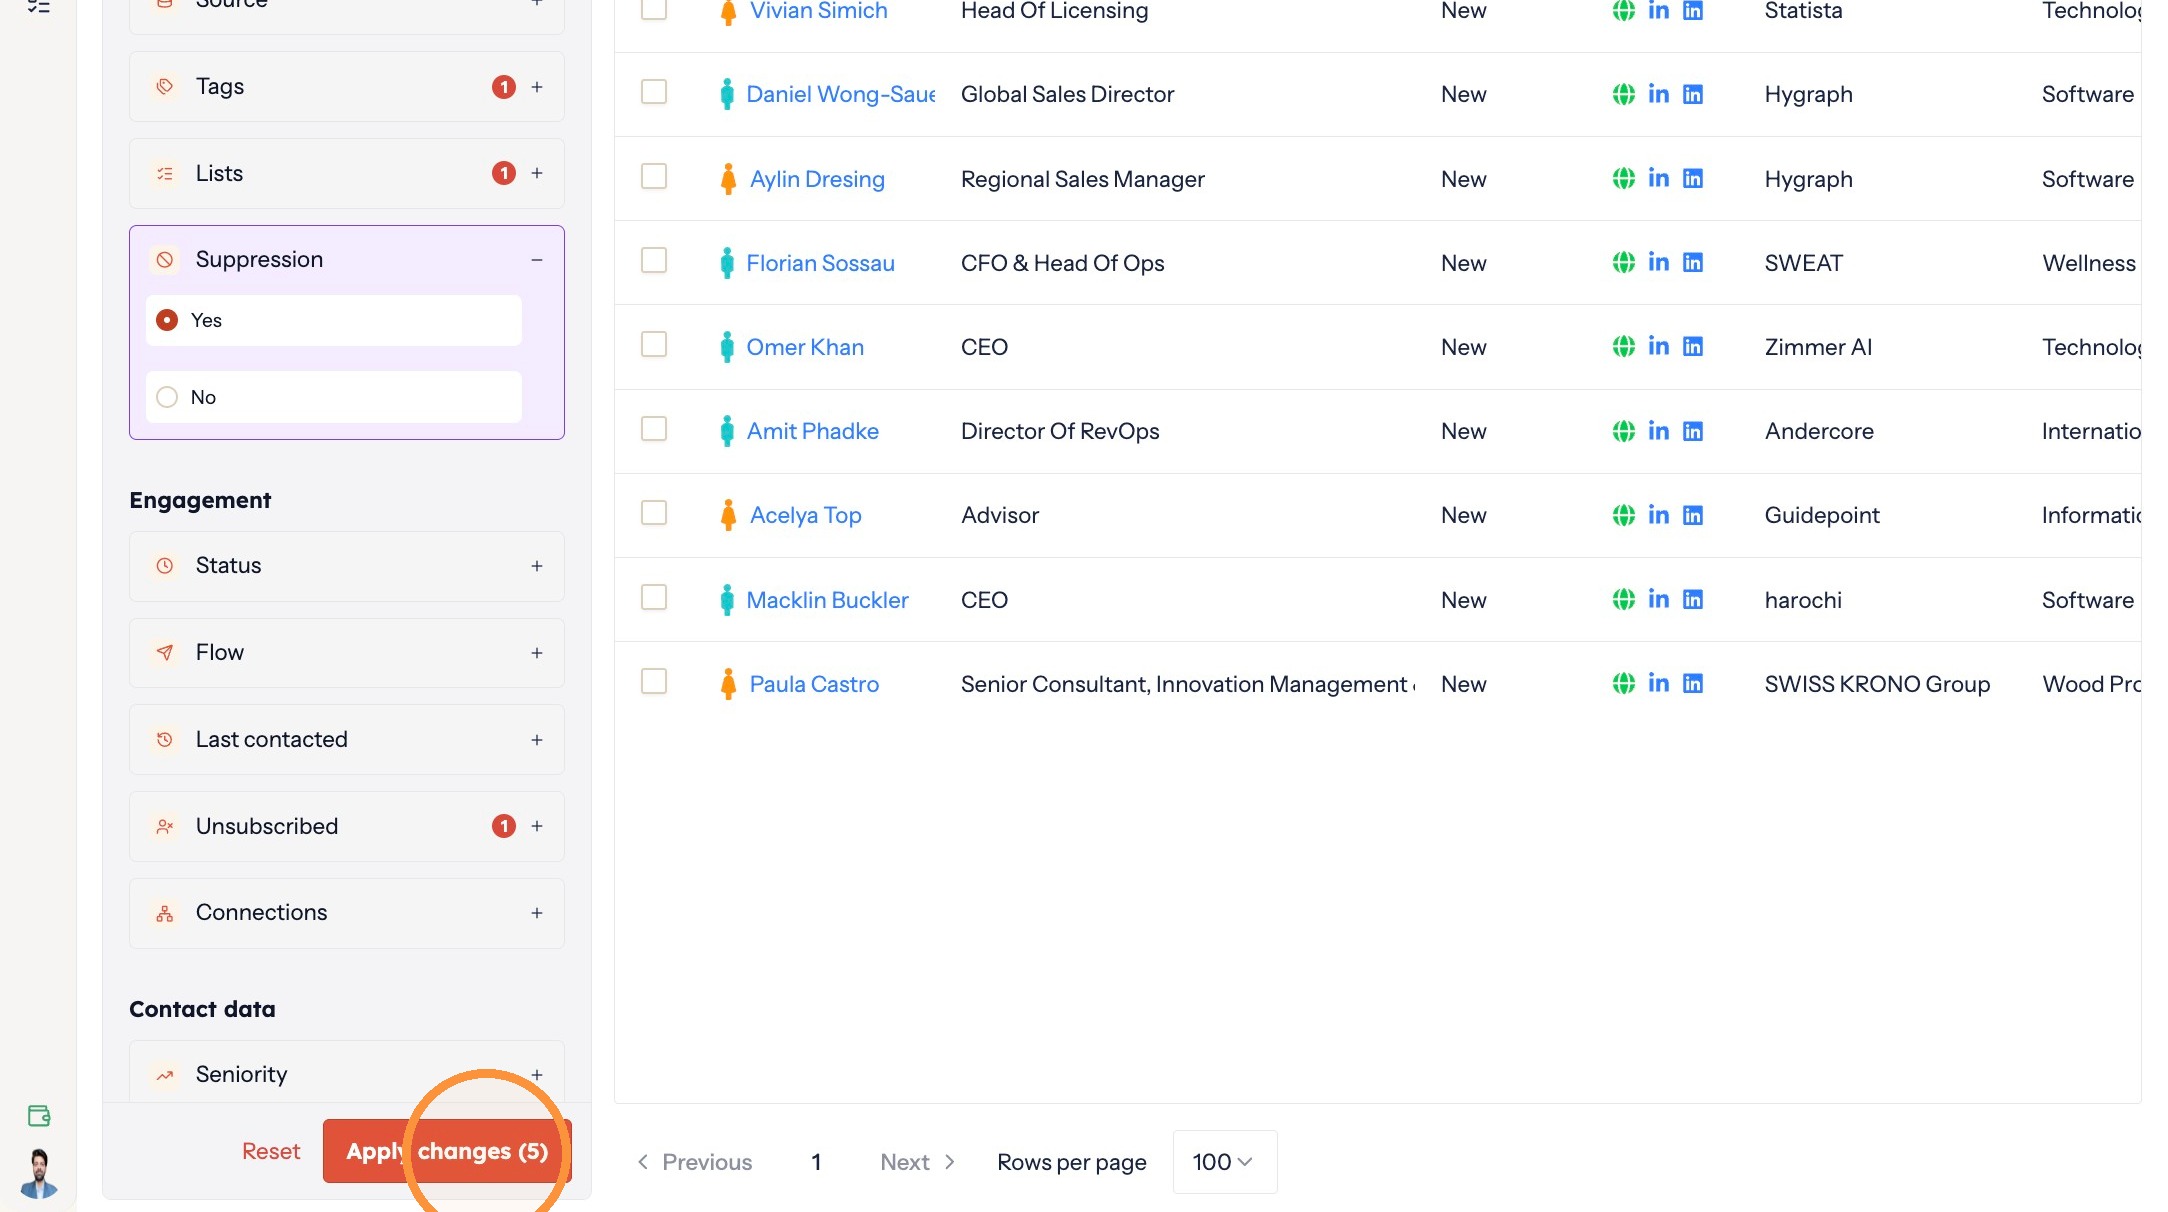
Applying the filter -
Click Select all to clear every suppressed contact, or tick the individual ones you want back.
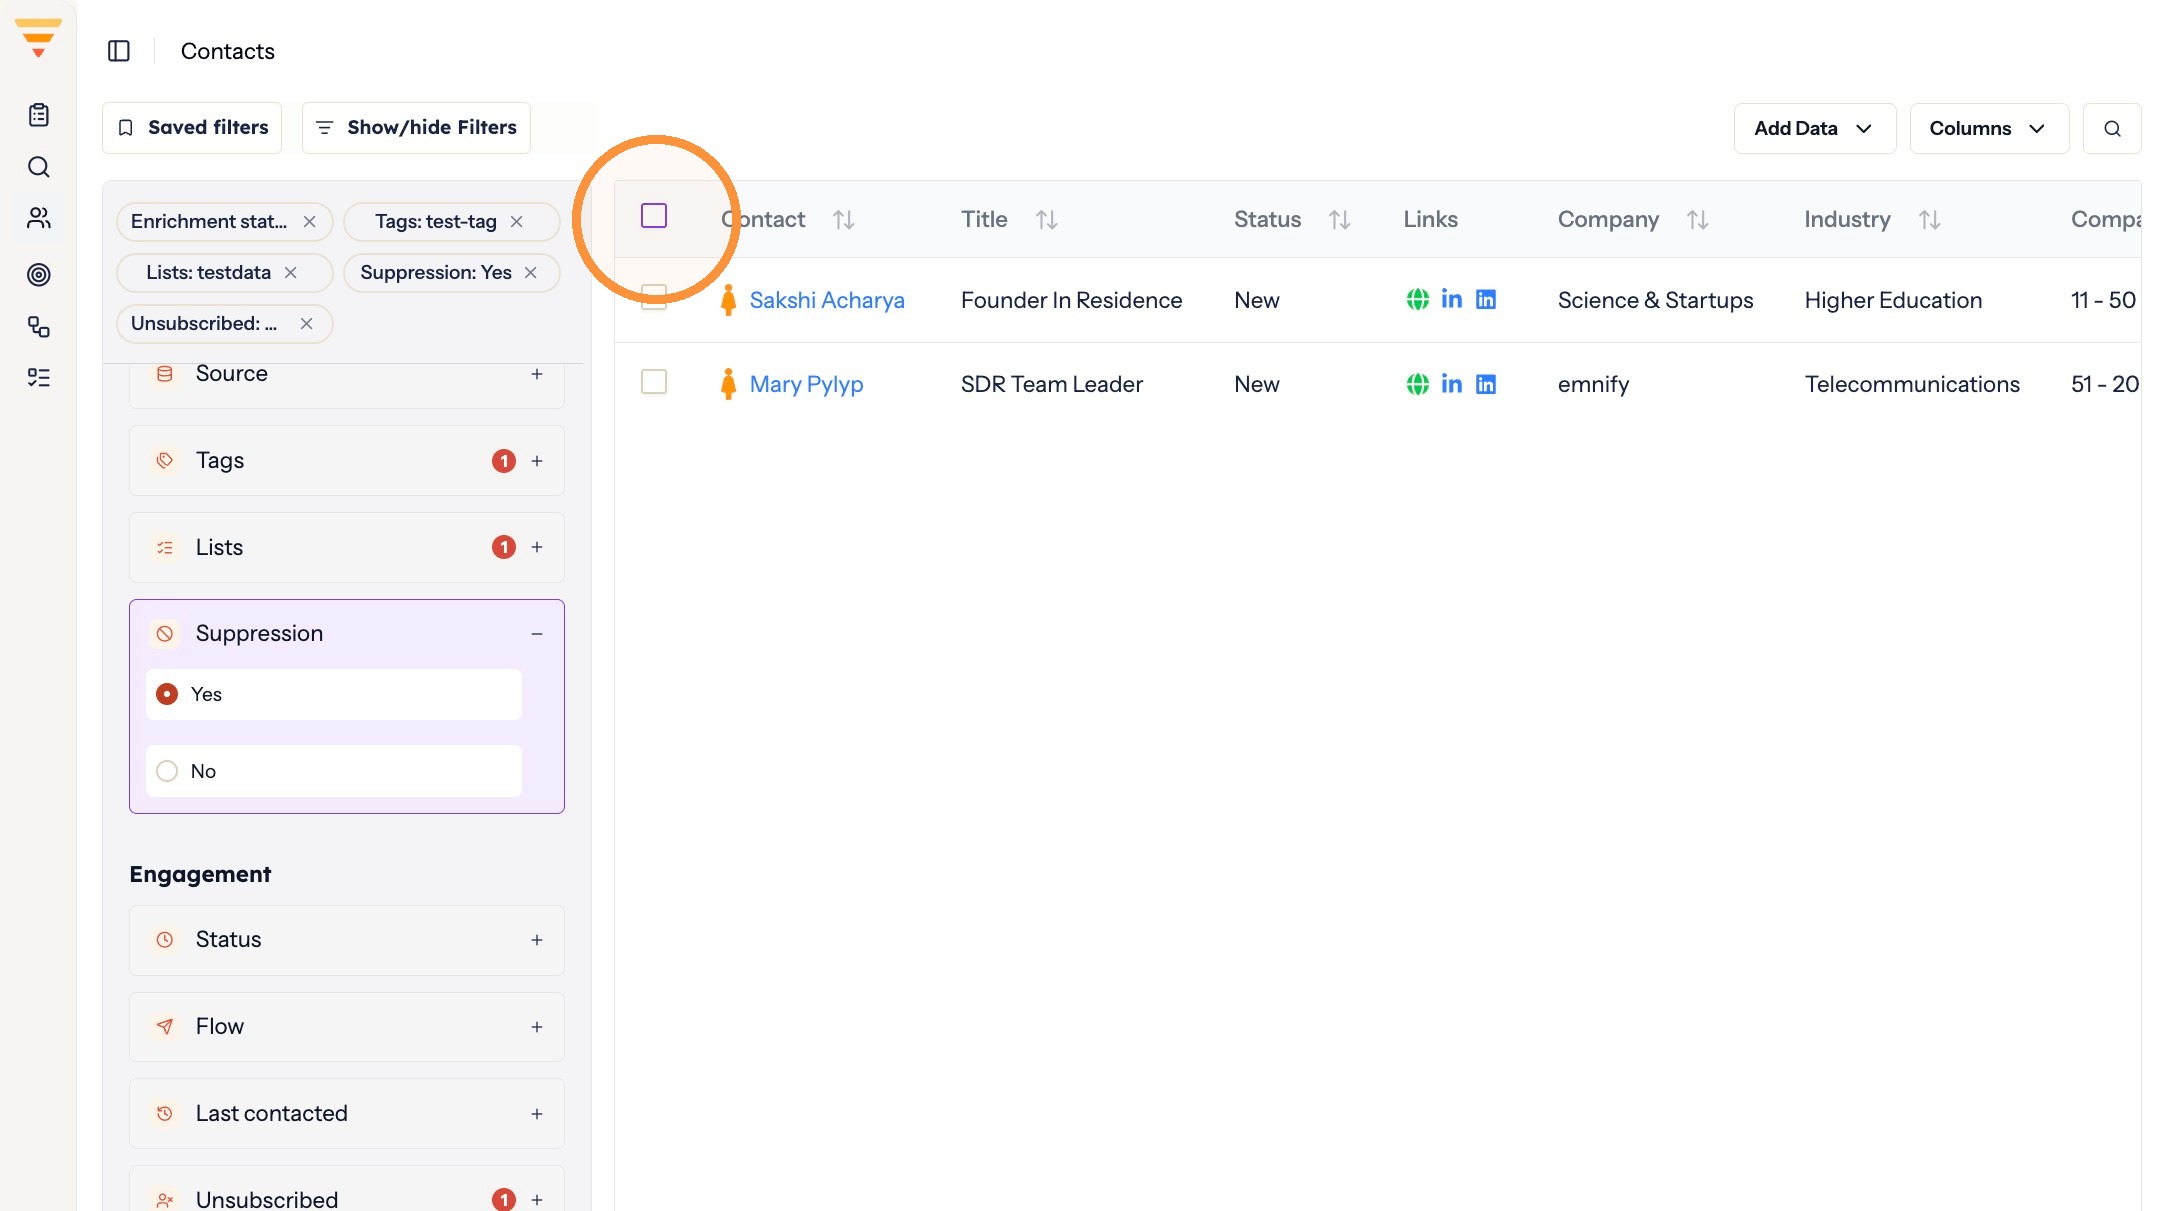
Choosing which to restore -
Click Apply.
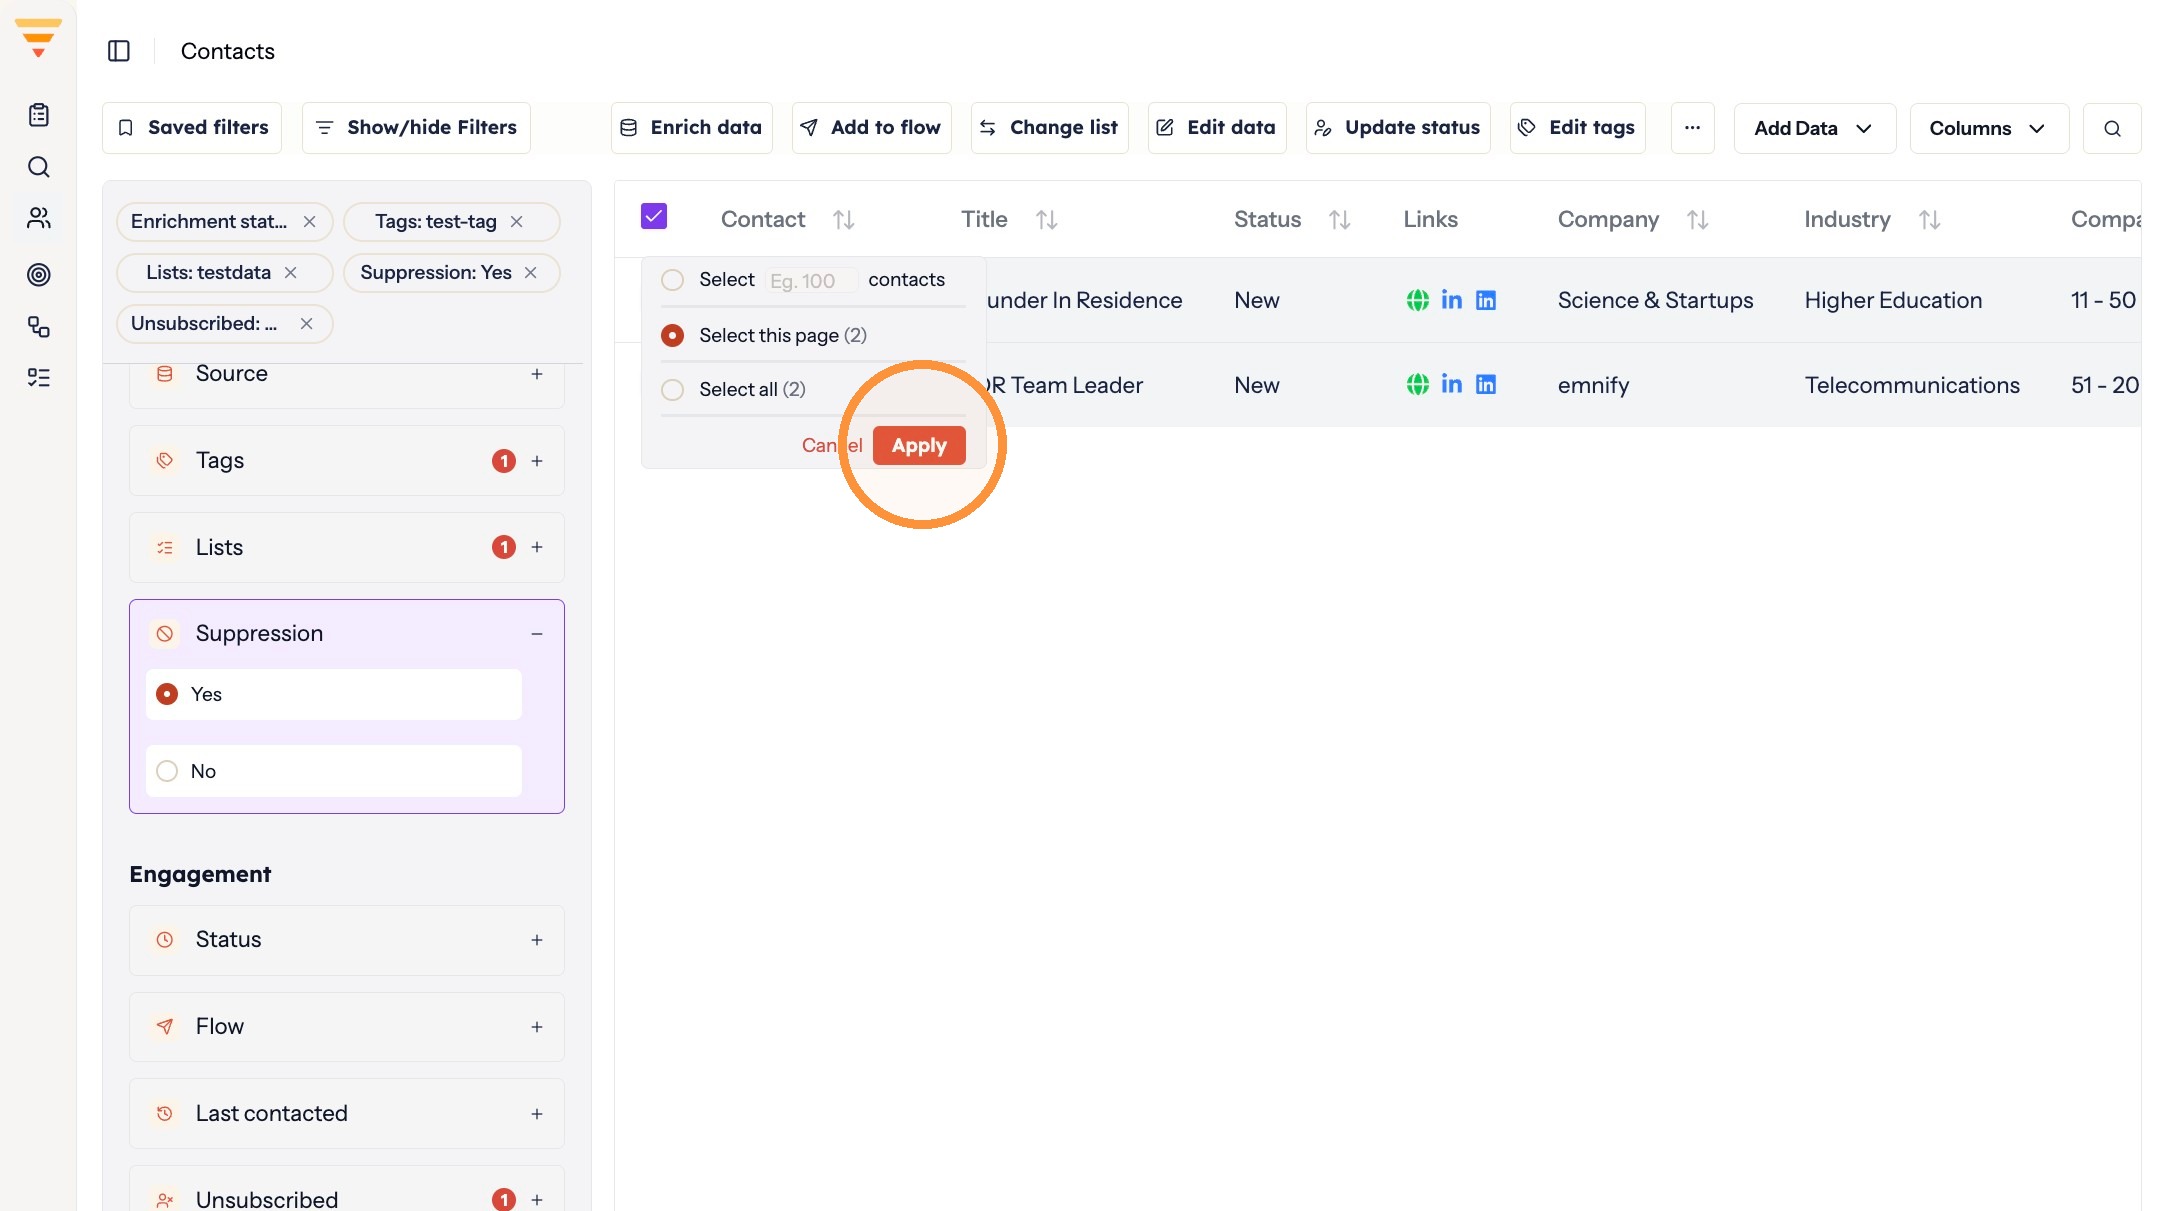
Confirming the selection -
Click the three dots menu above the contact table.
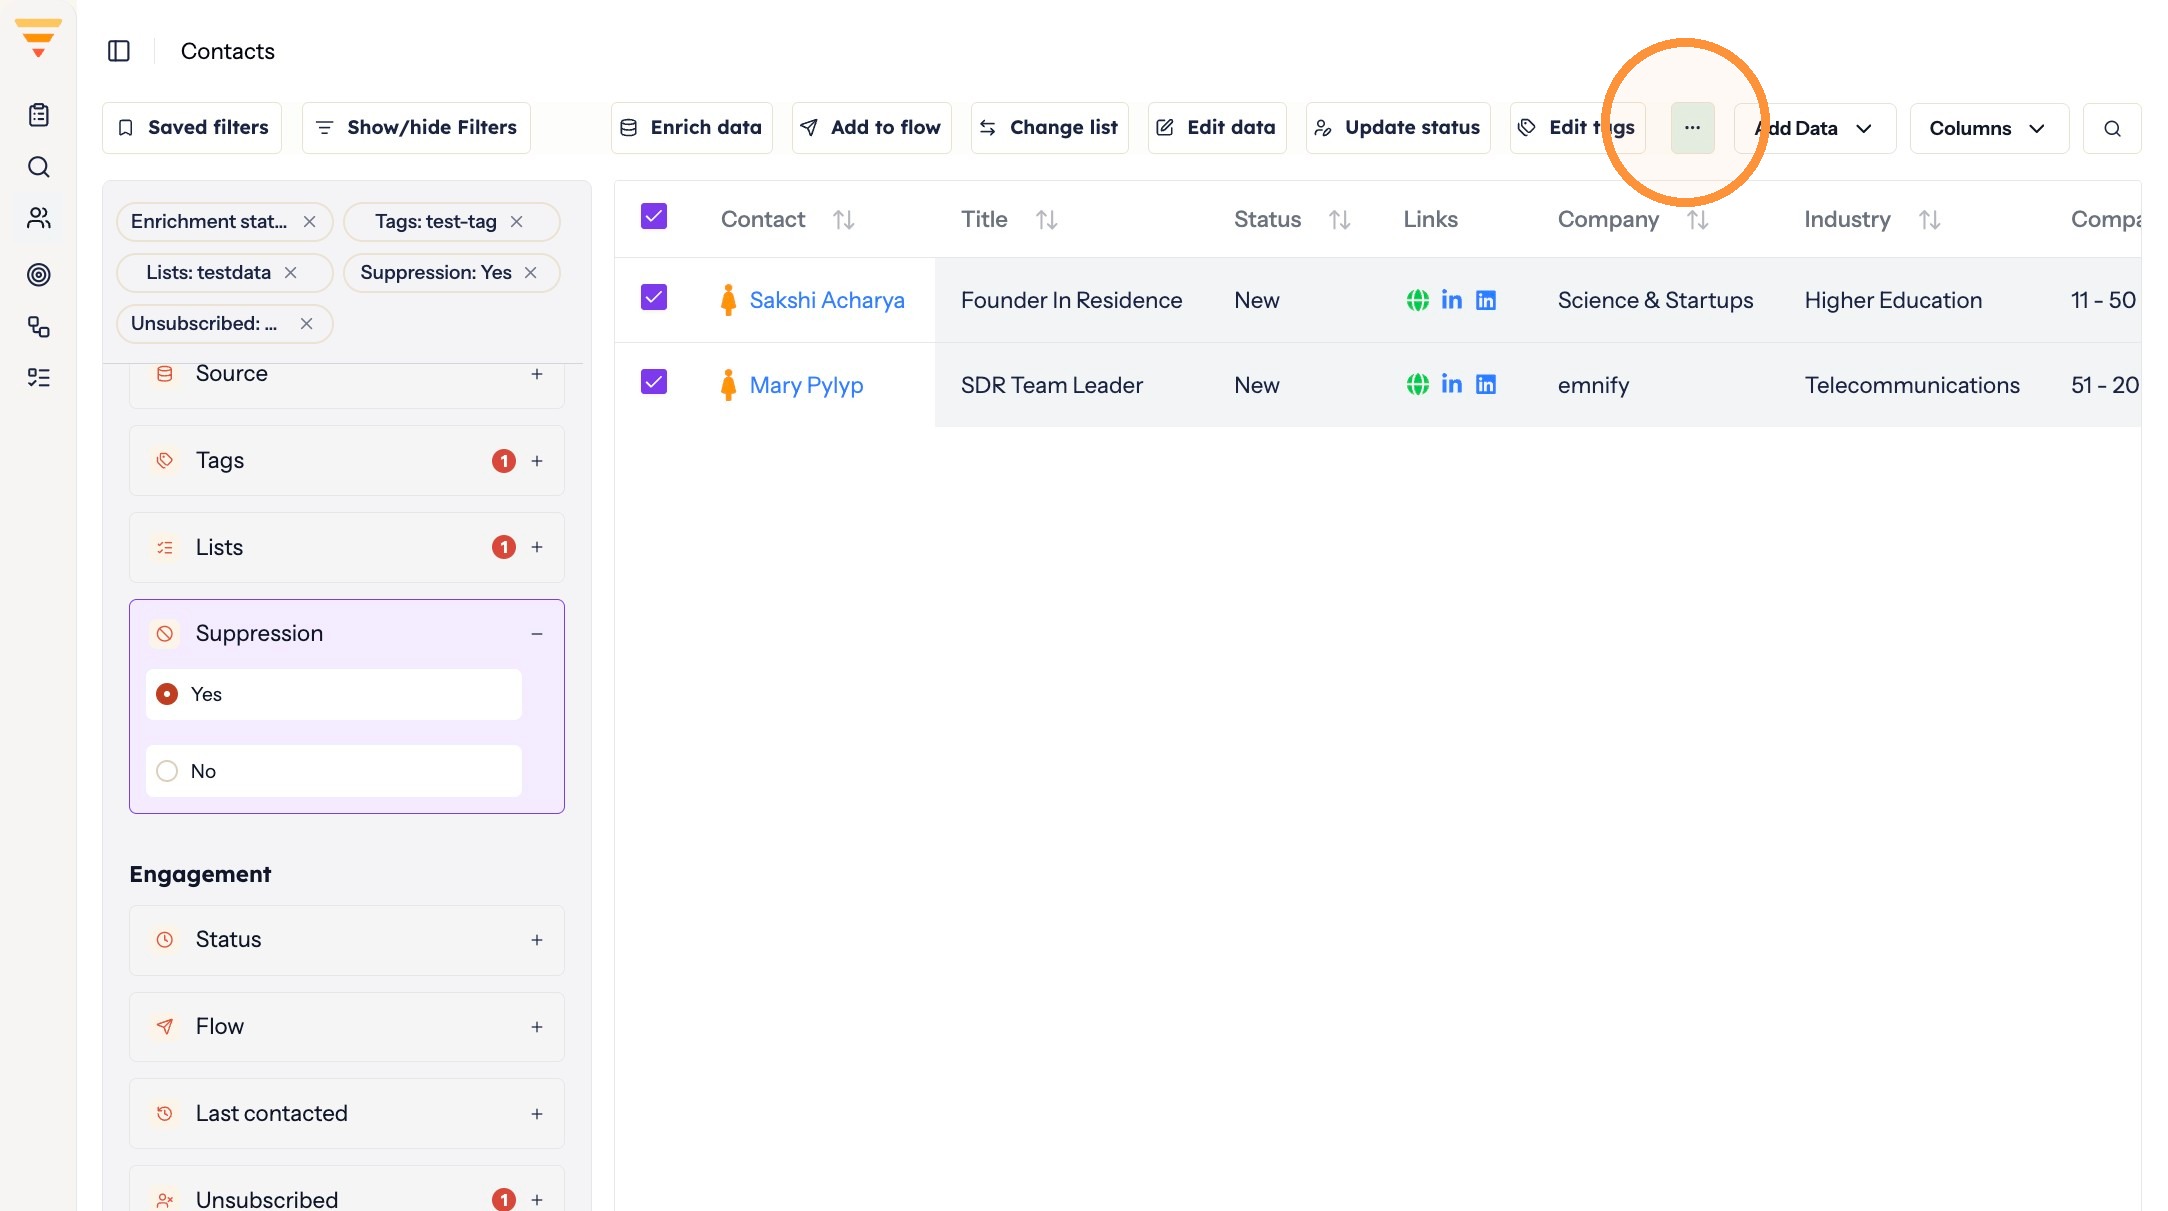
Opening the actions menu -
Select Remove suppression.
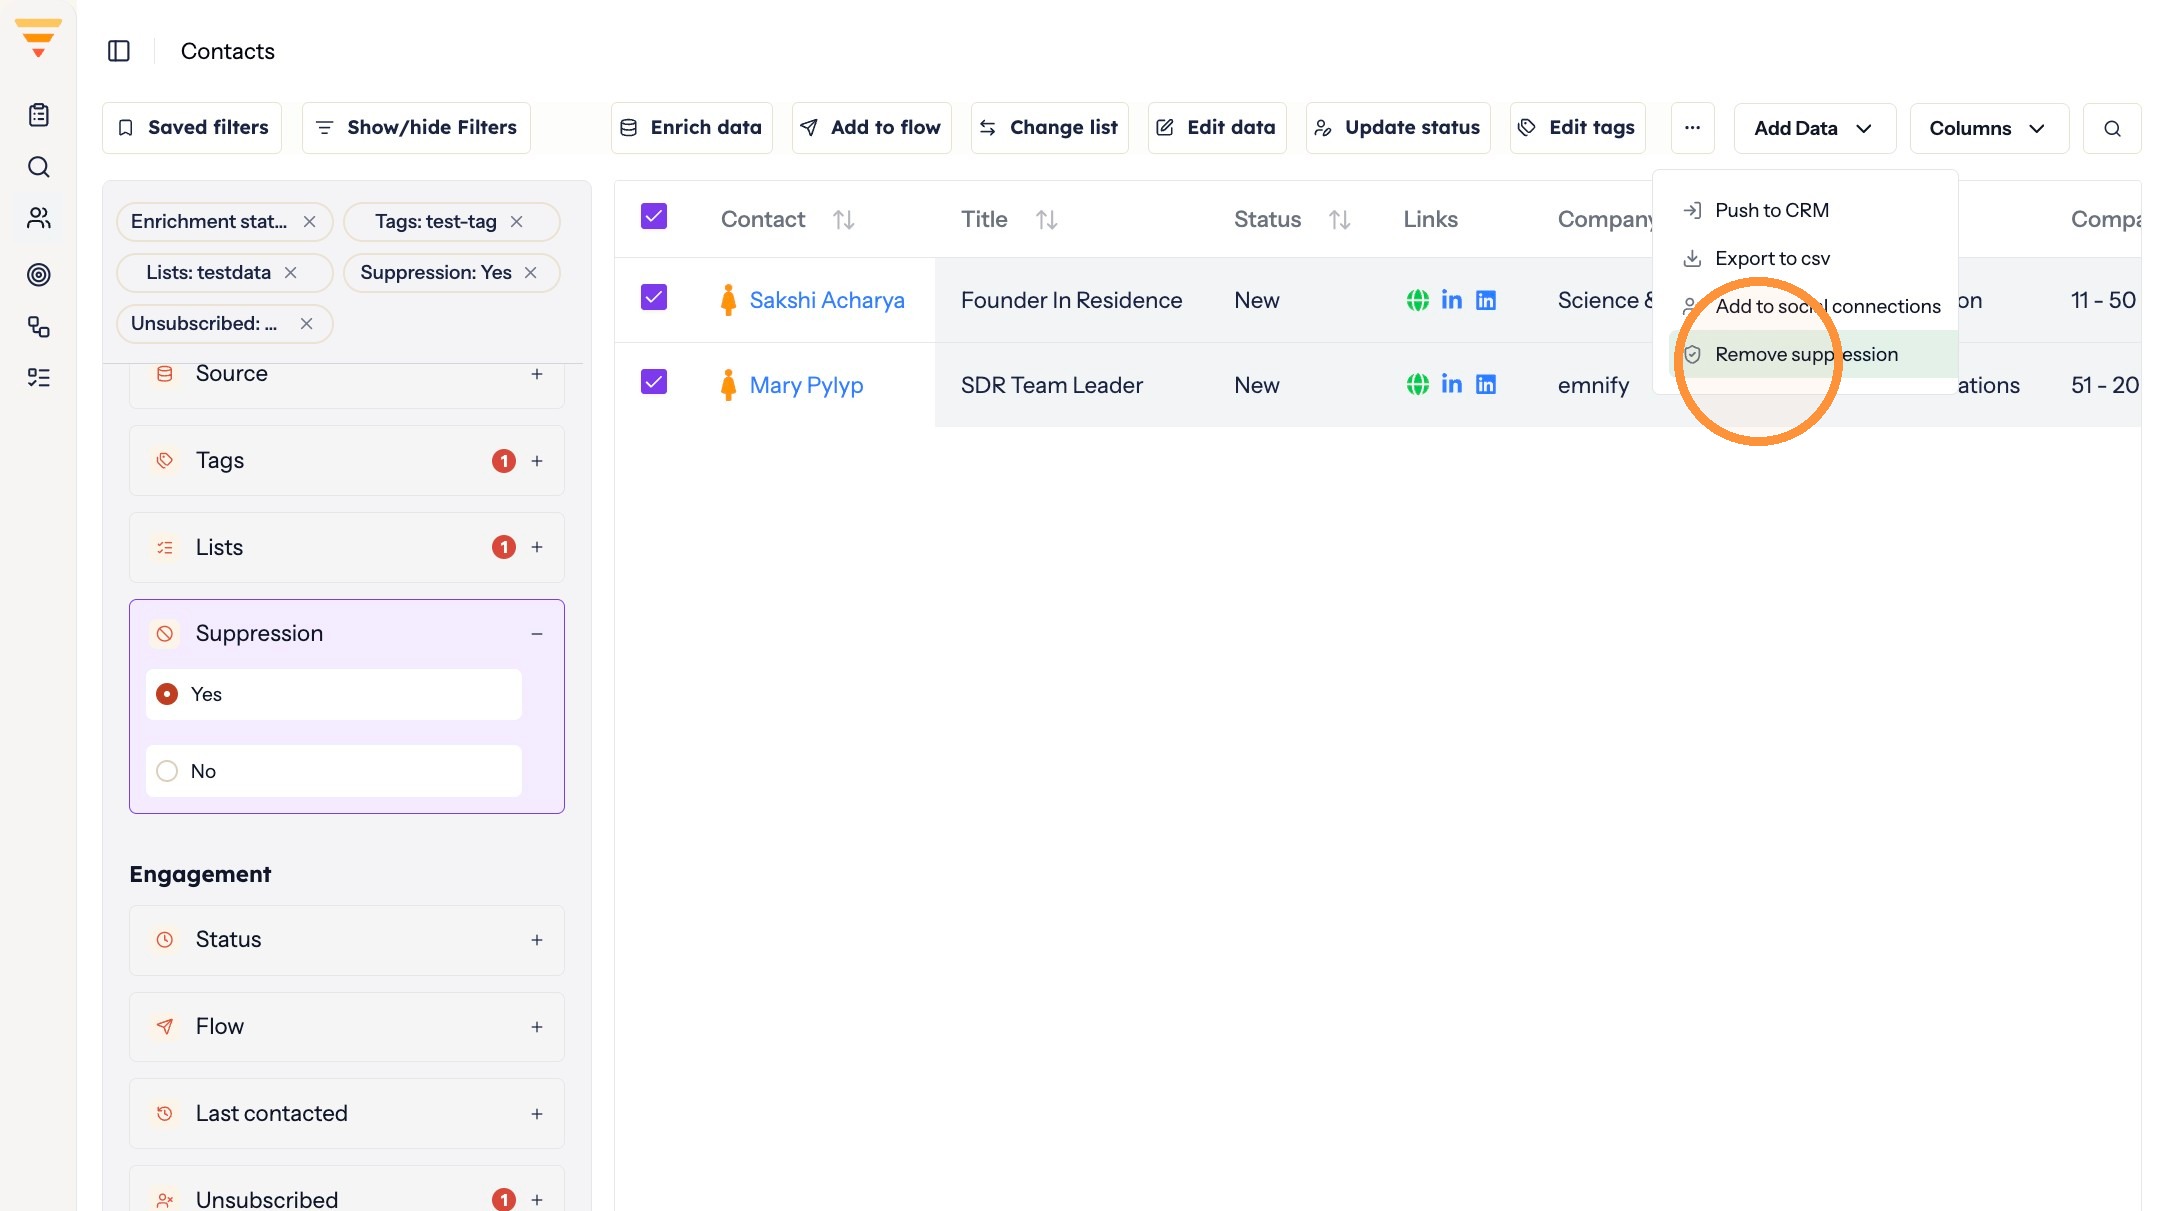
Removing suppression -
Click Yes to confirm.
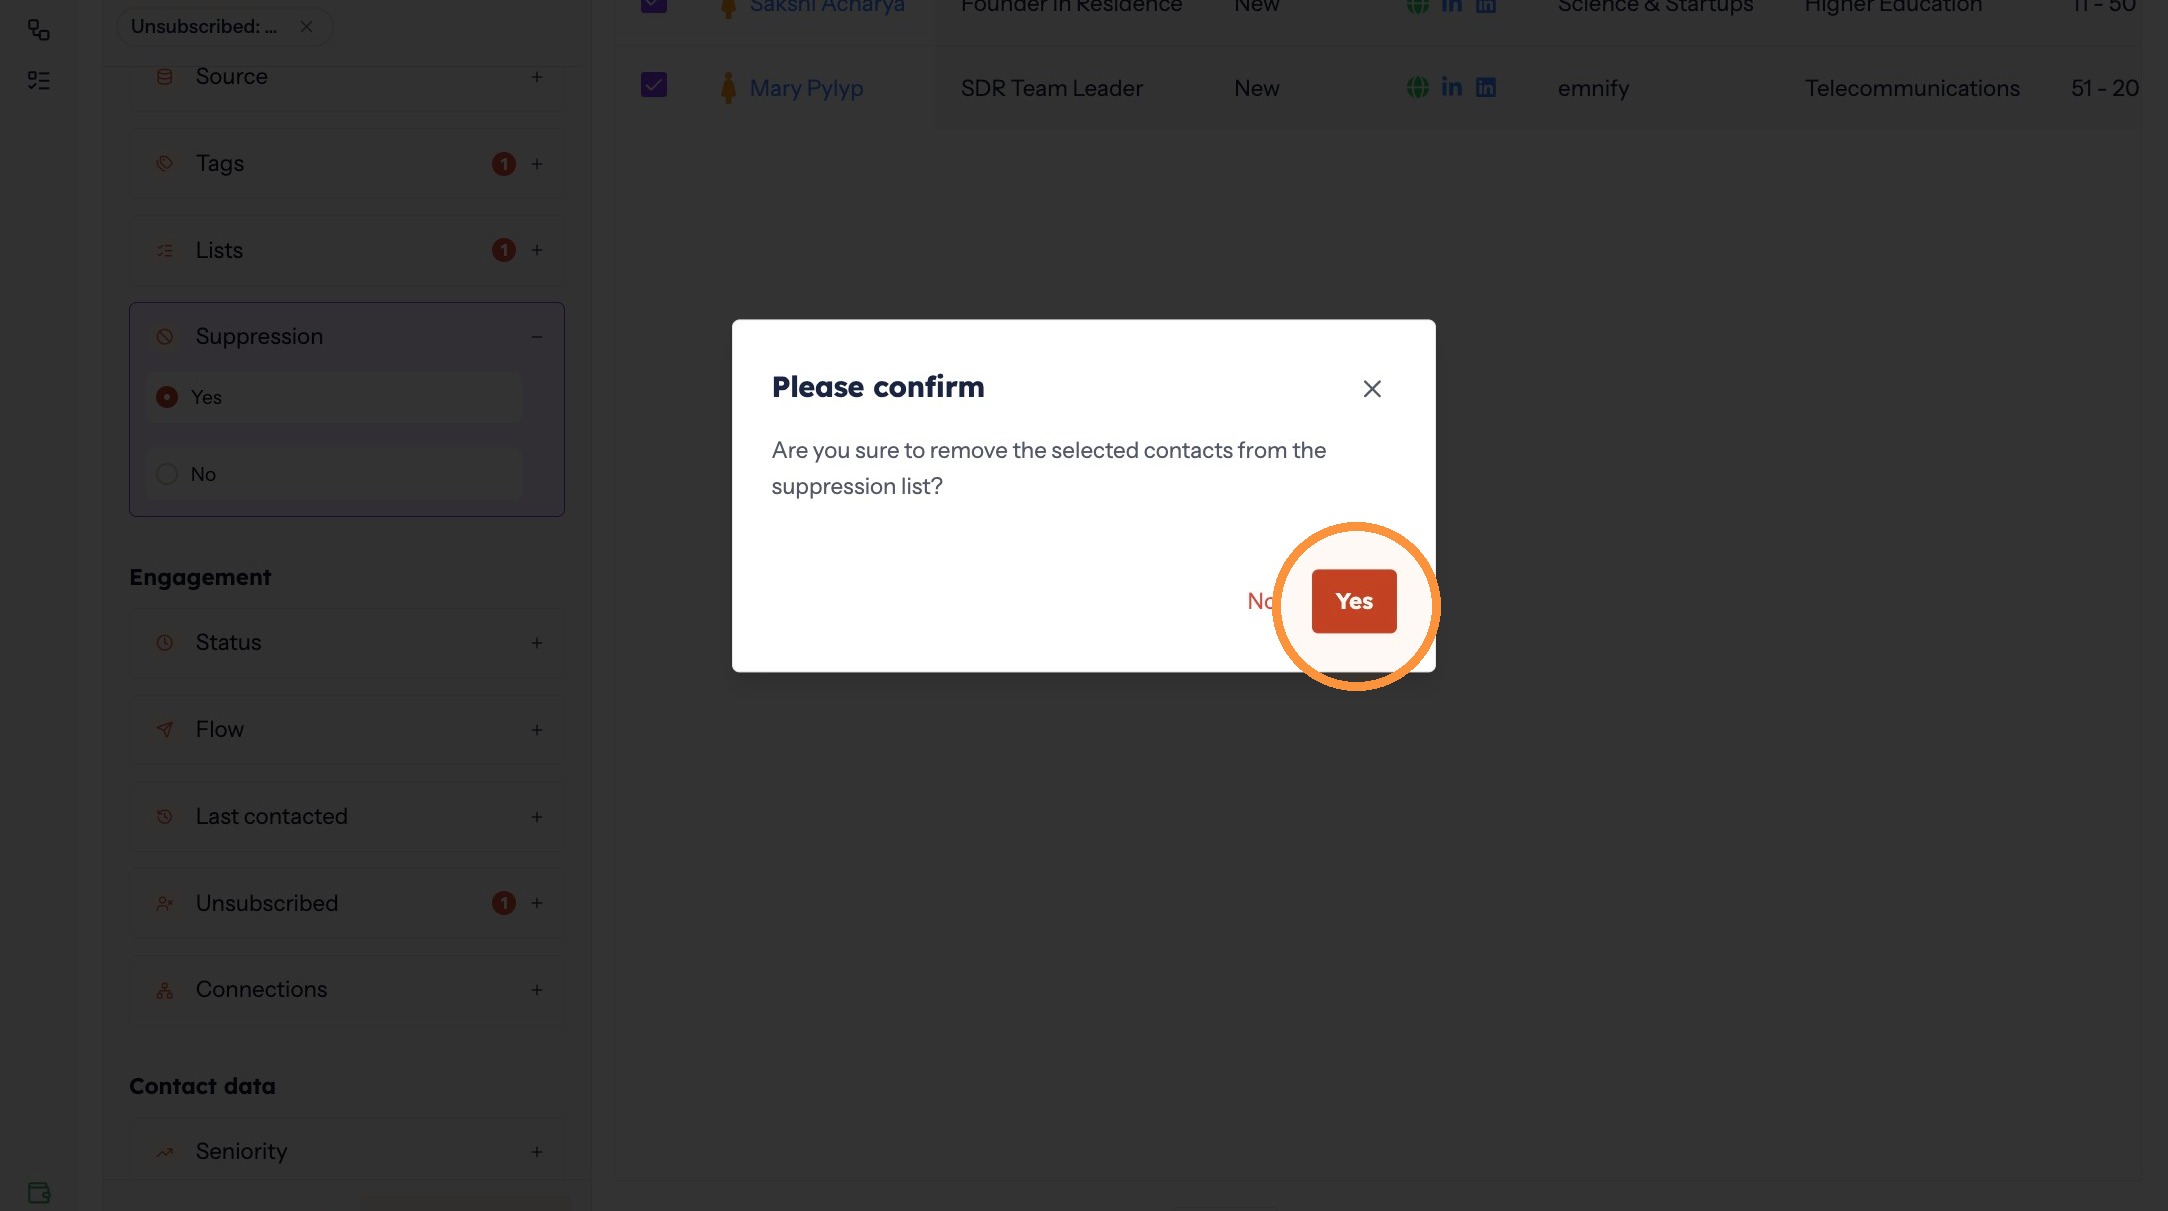
Confirming
Your contacts are updated. Suppressed contacts are skipped the next time a flow sends, and anything you unsuppressed returns to normal outreach with no other change.
Common mistake
- Suppressing just before outreach. Contacts have already been enriched by that point, so credits are spent on people who will never be contacted. Suppressing at or before enrichment is recommended, though not required.
Interactive walkthrough
Click through every step at your own pace.
The walkthrough loads from Scribe only after you click, so nothing third party runs on the page until then.
Common questions
What does suppressing a contact do?
A suppressed contact stays in your account but is skipped when a flow sends.
Can I undo suppression?
Yes. Suppression can be removed at any time, and the contact returns to normal outreach with no other change.
When is the best time to suppress a contact?
At or before enrichment. Suppressing just before outreach means credits have already been spent enriching people who will never be contacted.
Related articles
- Data enrichment in hubsellWhat data enrichment is, why it matters for outreach, and where you choose it when you bring contacts into hubsell.
- Move contacts between listsReorganise your contacts by moving them from one list to another, without affecting their flows or tags.
- Isolate contacts with no email address or LinkedIn URLFind the contacts a flow would skip, and move them into a list of their own so they do not sit unnoticed in your outreach.
- Manually update a contact's statusSet a contact's status yourself to stop or resume automation, for example when a conversation has moved offline.